Home photo editing tutorial: stunning interior photos
Home photo editing tutorial: stunning interior photos

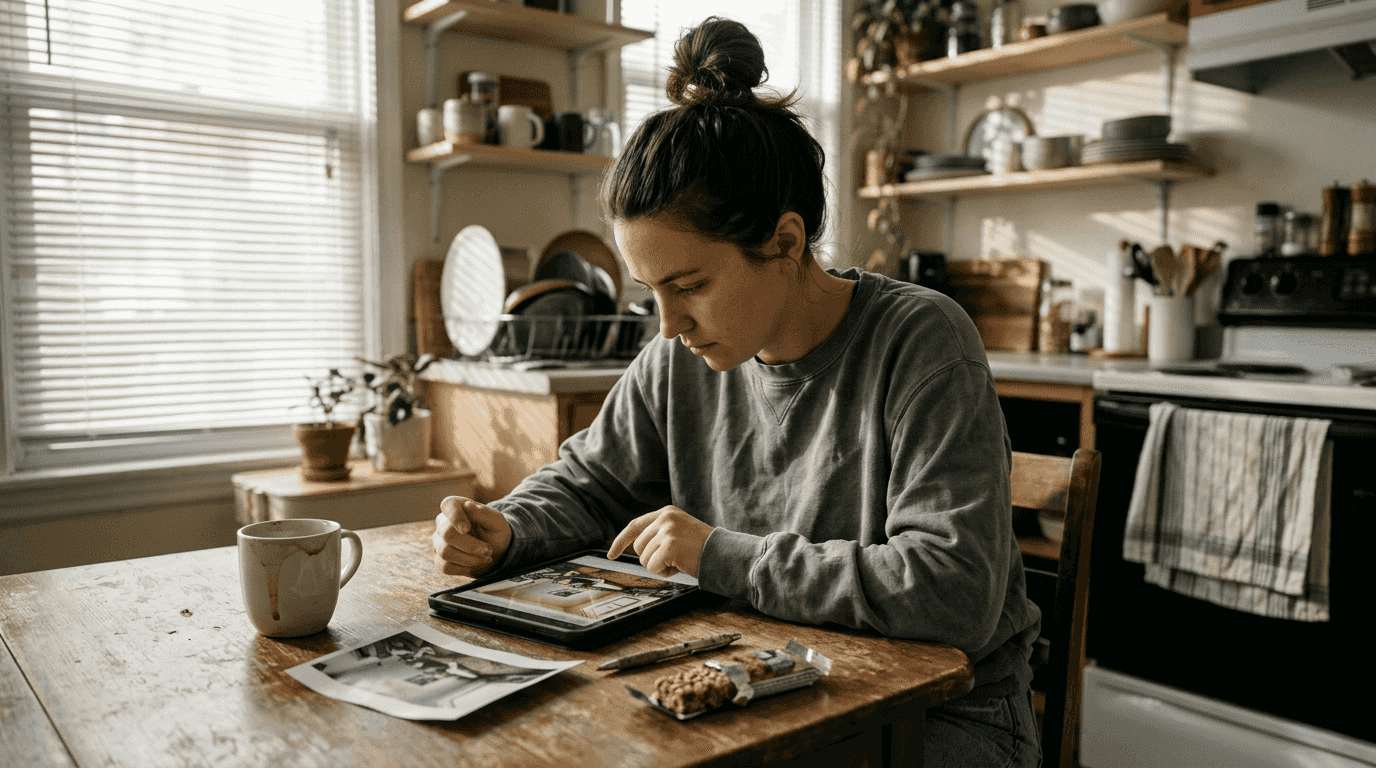
Your home might be perfect, but if the photos don’t show it, buyers will scroll right past your listing. In 2026’s competitive real estate market, online listings have become the new curb appeal, and first impressions happen in seconds on a screen. Many homeowners struggle to capture their space’s true potential, posting dim, awkwardly cropped, or color distorted photos that fail to attract interest. This tutorial walks you through simple, effective editing techniques that transform ordinary interior shots into compelling images that make buyers stop scrolling and start scheduling viewings.
Table of Contents
- Preparing For Home Photo Editing: Tools And Essentials
- Step-By-Step Home Photo Editing Tutorial
- Common Mistakes And Troubleshooting In Photo Editing
- Expected Results: How Better Photos Impact Home Selling
- Enhance Your Home Photos Effortlessly With VibeMyFlat
- FAQ
Key takeaways
| Point | Details |
|---|---|
| Photo quality drives sales | Well edited interior photos paired with staging can increase your home’s sale price and dramatically reduce time on market. |
| Beginner tools work | Software like Luminar Neo and mobile apps make professional level editing accessible without technical expertise. |
| Focus on fundamentals | Adjusting exposure, correcting colors, and improving composition deliver the biggest visual impact. |
| Avoid common mistakes | Over editing, poor cropping, and ignoring lighting balance create unnatural results that repel buyers. |
| Results are measurable | Quality photos help 95% of online home searchers visualize living in your space, directly influencing purchase decisions. |
Preparing for home photo editing: tools and essentials
Before you start adjusting sliders and filters, you need the right foundation. Choosing beginner friendly editing software sets you up for success without overwhelming you with complex features. Luminar Neo is a beginner-friendly real estate photo editing software that streamlines the editing process while delivering professional results. For mobile users, an AI photo editor app can provide similar capabilities right from your smartphone.
Your device doesn’t need to be cutting edge, but it should handle photo editing applications smoothly. A basic computer or modern smartphone with sufficient storage and processing power will work fine. The real key is starting with quality source material: high resolution interior shots taken in good natural lighting provide the best canvas for editing.
Organize your photos before editing to maintain workflow efficiency. Create folders by room or listing section, and work through them systematically rather than jumping randomly between images. This approach helps maintain consistent editing styles across your entire photo set, which creates a cohesive, professional presentation.
Essential editing features you’ll use repeatedly:
- Brightness and contrast adjustments for balanced exposure
- Color correction tools to restore accurate, appealing tones
- Cropping and straightening for improved composition
- Retouching capabilities to remove minor distractions
- Sharpening filters to enhance detail and clarity
| Tool Category | Primary Function | Beginner Difficulty |
|---|---|---|
| Exposure Controls | Adjust light and shadow balance | Low |
| Color Correction | Fix color casts and white balance | Medium |
| Cropping Tools | Improve framing and composition | Low |
| Retouching Brushes | Remove small imperfections | Medium |
| Sharpening Filters | Enhance edge definition | Low |
Pro Tip: Always work on copies of your original photos, never the originals themselves. Save your unedited files in a separate backup folder so you can always return to the source if an edit doesn’t work out as planned.
Step-by-step home photo editing tutorial
Now that you have your tools ready and photos organized, let’s walk through the actual editing process. Follow these steps in order for each interior photo to build a systematic approach that becomes faster with practice.
1. Adjust exposure and brightness first. Open your photo and evaluate whether it’s too dark, too bright, or unevenly lit. Use the exposure slider to bring the overall brightness to a natural level where details are visible in both shadows and highlights. Avoid pushing exposure so high that windows blow out to pure white or so low that corners disappear into darkness.
2. Correct color balance and temperature. Interior photos often have color casts from mixed lighting sources like warm bulbs and cool daylight. Color correction focuses on accuracy, while grading adds a stylistic look, so your goal here is natural, true to life colors. Adjust the white balance slider until walls appear neutral and furniture colors look realistic. If your software has an auto white balance feature, try it first, then fine tune manually.
3. Crop for optimal composition. Remove distracting elements at the edges of your frame and straighten any tilted walls or floors. The rule of thirds works well for interior shots: position key focal points like fireplaces or statement furniture along the imaginary lines that divide your frame into thirds. Crop tightly enough to eliminate clutter but loosely enough to show the room’s spaciousness.
4. Retouch minor imperfections carefully. Use spot removal or clone stamp tools to eliminate small distractions like visible cords, light switches in awkward positions, or minor wall marks. Keep retouching subtle and realistic. Buyers expect to see a lived in home, not a magazine fantasy that feels unattainable or fake.
5. Enhance sharpness and detail moderately. Apply a subtle sharpening filter to make architectural details and textures pop without creating harsh, artificial edges. Zoom to 100% view to check that sharpening doesn’t create visible halos or noise. Less is more here.
6. Save in high resolution format. Export your edited photos at the highest quality setting your listing platform accepts, typically JPEG at 90-100% quality or PNG for maximum detail. High resolution images display beautifully on large screens and allow buyers to zoom in and examine details, building confidence in your property.
Pro Tip: Edit one photo completely, then take a 10 minute break before reviewing it with fresh eyes. You’ll catch over editing or missed issues much more easily after stepping away briefly.
Explore more home photo editing techniques that can elevate your interior photography even further with specialized AI tools designed specifically for property listings.
Common mistakes and troubleshooting in photo editing
Even with good intentions, it’s easy to fall into editing traps that make your photos less effective. Recognizing these common mistakes helps you avoid them and troubleshoot issues when results don’t match expectations.
Over editing creates unnatural results. The most frequent mistake is pushing adjustments too far, resulting in oversaturated colors, blown out highlights, or crushed shadows with no detail. Your eyes adjust to gradual changes as you edit, making extreme adjustments seem normal. Combat this by comparing your edited version directly to the original using a side by side view or toggling the edits on and off.
Poor cropping choices diminish room appeal. Cropping too tightly makes rooms feel cramped and claustrophobic, while leaving too much empty space or distracting elements weakens the composition. Always consider what story your crop tells about the room’s size and functionality. If you’re uncertain, try multiple crop ratios and ask someone unfamiliar with the space which feels most inviting.
Ignoring lighting imbalances reduces impact. Mixed lighting temperatures or harsh shadows create disjointed, uninviting images. Real estate photo editing is often the quiet difference between a listing that gets a quick viewing request and one that sits ignored for weeks. Pay special attention to balancing natural window light with interior artificial lighting, using exposure adjustment brushes or graduated filters to even out bright and dark areas.
Failing to save backup copies risks disaster. Editing destructively without keeping original files means you can’t reverse mistakes or try different approaches later. Always maintain your unedited originals in a separate, clearly labeled folder before making any changes.
Key troubleshooting strategies:
- Calibrate your monitor to ensure colors appear accurately during editing
- Preview edited photos on multiple devices (phone, tablet, computer) to catch display inconsistencies
- Compare your edits to successful listing photos in your market for style benchmarking
- Ask a friend or family member for honest feedback on whether edits look natural
- If colors look wrong, reset white balance and start fresh rather than stacking corrections
Visit fix home photo issues for AI powered solutions that automatically detect and correct common interior photography problems with minimal manual adjustment.
Expected results: how better photos impact home selling
Understanding the tangible benefits of quality edited interior photos helps justify the time investment and motivates careful execution. The data on photo quality’s impact on real estate outcomes is compelling and consistent across markets.
Quality photos paired with home staging deliver measurable financial returns. 46% of 3,500 staged homes sold for 10% more than non-staged properties, demonstrating that visual presentation directly influences buyer willingness to pay premium prices. The average sale-to-list ratio for staged properties was 109%, meaning these homes sold for 9% over asking price on average.
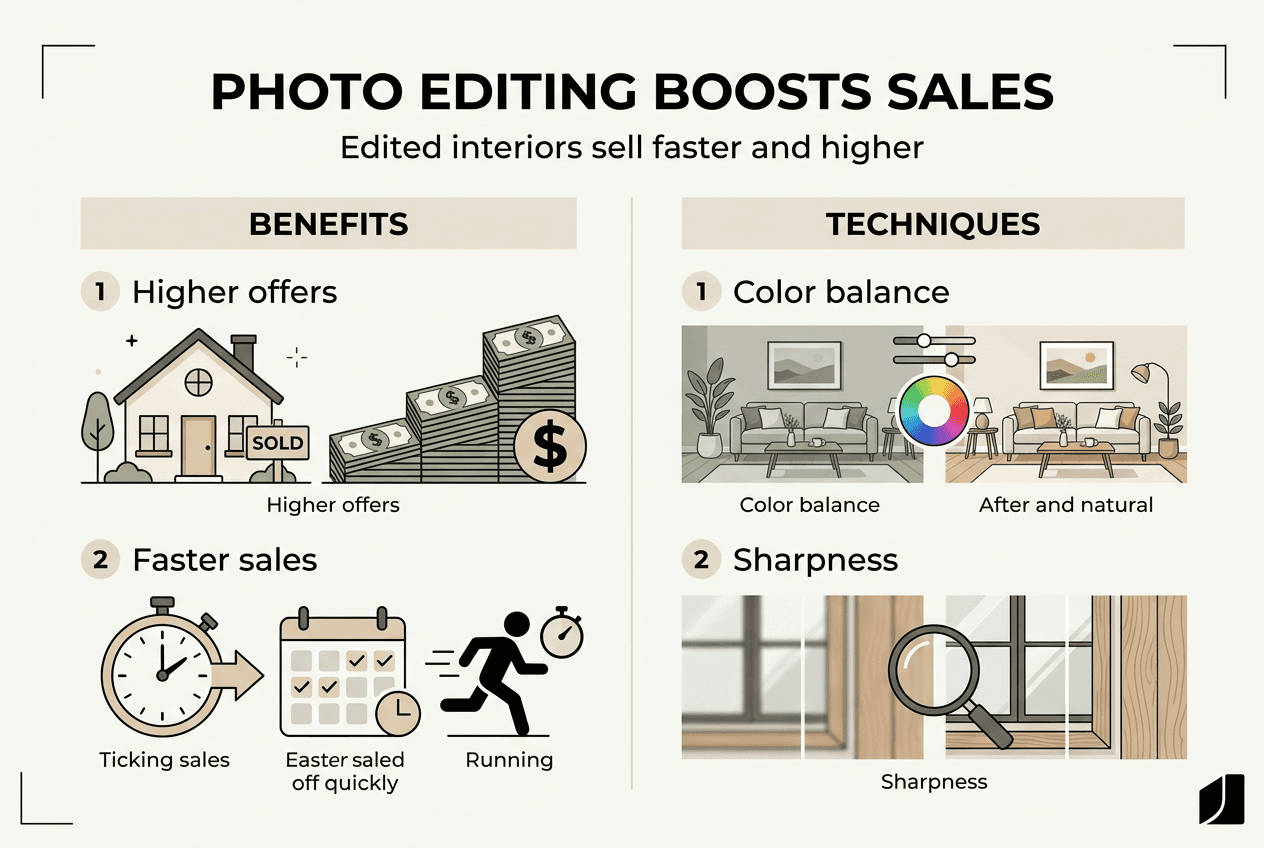
Speed to sale improves dramatically with professional quality images. The average days on market for staged properties was 19 days, significantly faster than comparable unstaged listings. Every day your home sits unsold costs you money in mortgage payments, utilities, and opportunity costs, making faster sales financially valuable beyond just the sale price.
The return on investment for staging and quality photo presentation is extraordinary. The average ROI on staging investment was 3,551%, making it one of the highest return activities in real estate selling. Even modest investments in photo editing and minor staging improvements pay back many times over.
| Metric | Staged/Quality Photos | Unstaged/Poor Photos | Difference |
|---|---|---|---|
| Average sale price vs. list | 109% of asking | 95-98% of asking | +11-14% |
| Days on market | 19 days | 45-60 days | 58-68% faster |
| Buyer engagement | 95% view online first | Same pool, lower interest | Higher showing rate |
| ROI on investment | 3,551% average | N/A | Exceptional return |
Why these results occur:
- High quality images attract the 95% of buyers who search homes online before visiting in person
- Professional photos help buyers visualize living in the space, creating emotional connection
- Well edited images signal that the home is well maintained and move in ready
- Quality presentation reduces buyer skepticism and increases perceived value
- Strong first impressions online lead to more showings, which generate competitive offers
These statistics demonstrate that photo editing isn’t vanity or deception. It’s strategic marketing that communicates your home’s true value effectively to buyers who make initial decisions based on digital first impressions. The homes that sell fastest and for the best prices aren’t necessarily the best homes, they’re the ones presented most compellingly.
Enhance your home photos effortlessly with VibeMyFlat
If manual editing feels overwhelming or time consuming, modern AI tools offer a faster path to professional results. VibeMyFlat specializes in interior photo enhancement using advanced AI that understands design principles and real estate photography best practices. The platform simplifies complex editing into intuitive controls that deliver polished, market ready photos in under 30 seconds.
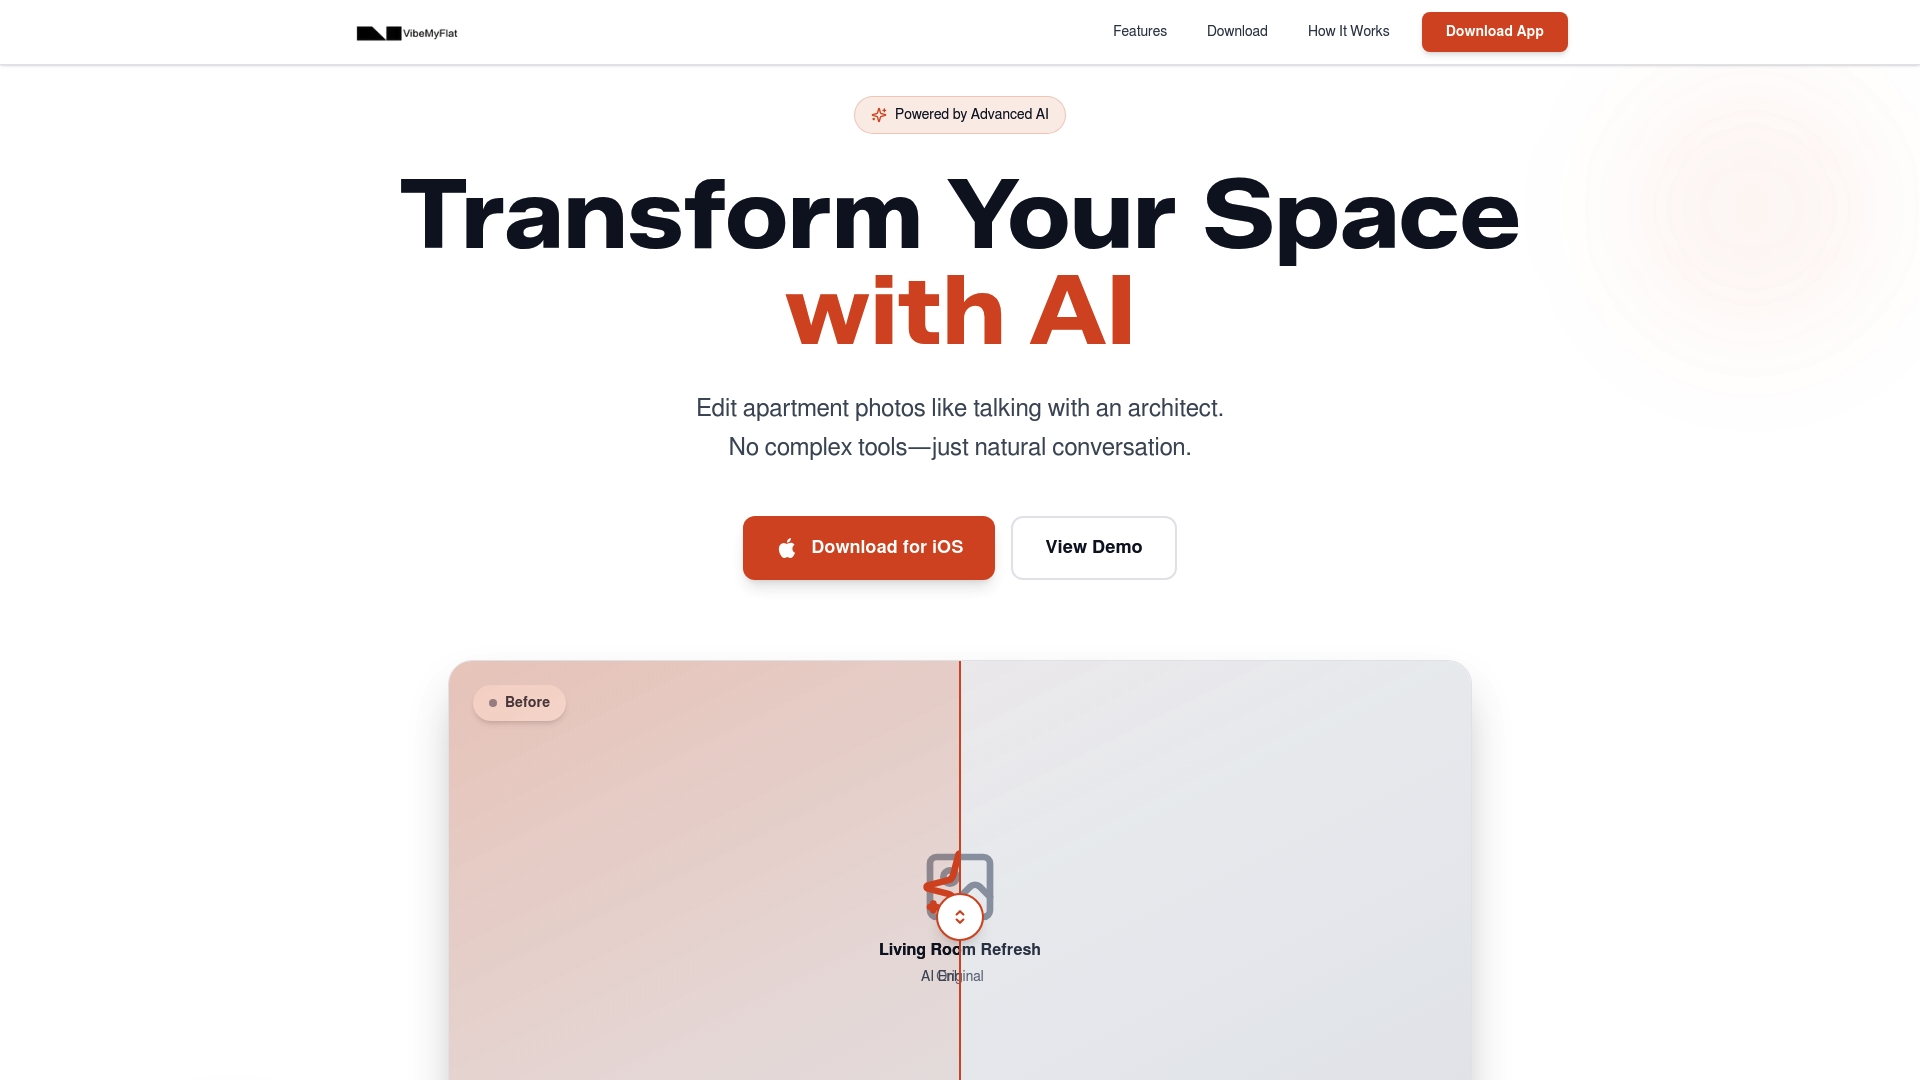
Whether you’re preparing a few rooms or an entire property listing, VibeMyFlat AI photo editor handles the technical details while you focus on showcasing your home’s unique character. The app works seamlessly across devices, so you can edit on your computer, tablet, or smartphone wherever it’s most convenient. Try VibeMyFlat today to transform your interior photos from ordinary snapshots into compelling images that attract serious buyers and help your listing stand out in crowded online marketplaces.
FAQ
How can I improve my home photos without expensive equipment?
Use natural light by shooting during midday when sunlight fills rooms evenly, and steady your camera against a wall or furniture to avoid blur. Basic editing apps on your smartphone can enhance brightness, adjust contrast, and correct colors easily. Focus on cleaning and decluttering spaces before shooting, which improves photos more than any equipment upgrade.
What is the difference between color correction and color grading in photo editing?
Color correction adjusts colors to achieve natural, accurate appearance by fixing white balance and removing unwanted color casts. Color correction focuses on accuracy, while grading adds a stylistic look to set mood or create artistic tone. For real estate photos, stick primarily to correction rather than heavy grading to maintain realistic, trustworthy presentation.
Why do staged and well-edited photos sell homes faster?
Staging and quality photos help buyers imagine living in the space by removing distractions and highlighting the home’s best features. 83% of buyers’ agents say staging helps buyers visualize a property as their future home, creating emotional connection that speeds purchase decisions. Professional presentation also signals that the property is well maintained, reducing buyer concerns and hesitation.
Should I edit photos on my computer or smartphone?
Both work well, with computers offering larger screens for detailed work and smartphones providing convenience for quick edits. Choose based on your comfort level and the complexity of edits needed. For extensive retouching or precise color work, computers give better control, while smartphones excel for basic adjustments and on the go editing.
How much editing is too much for real estate photos?
Stop editing when your photos no longer represent what buyers will see when they visit in person. Avoid extreme saturation, unrealistic lighting, or removing permanent fixtures that buyers need to evaluate. Your goal is accurate enhancement, not deceptive transformation, so if someone viewing your home says the photos looked better, you’ve edited too much.