Quality photo enhancement: AI solutions for stunning interiors
Quality photo enhancement: AI solutions for stunning interiors
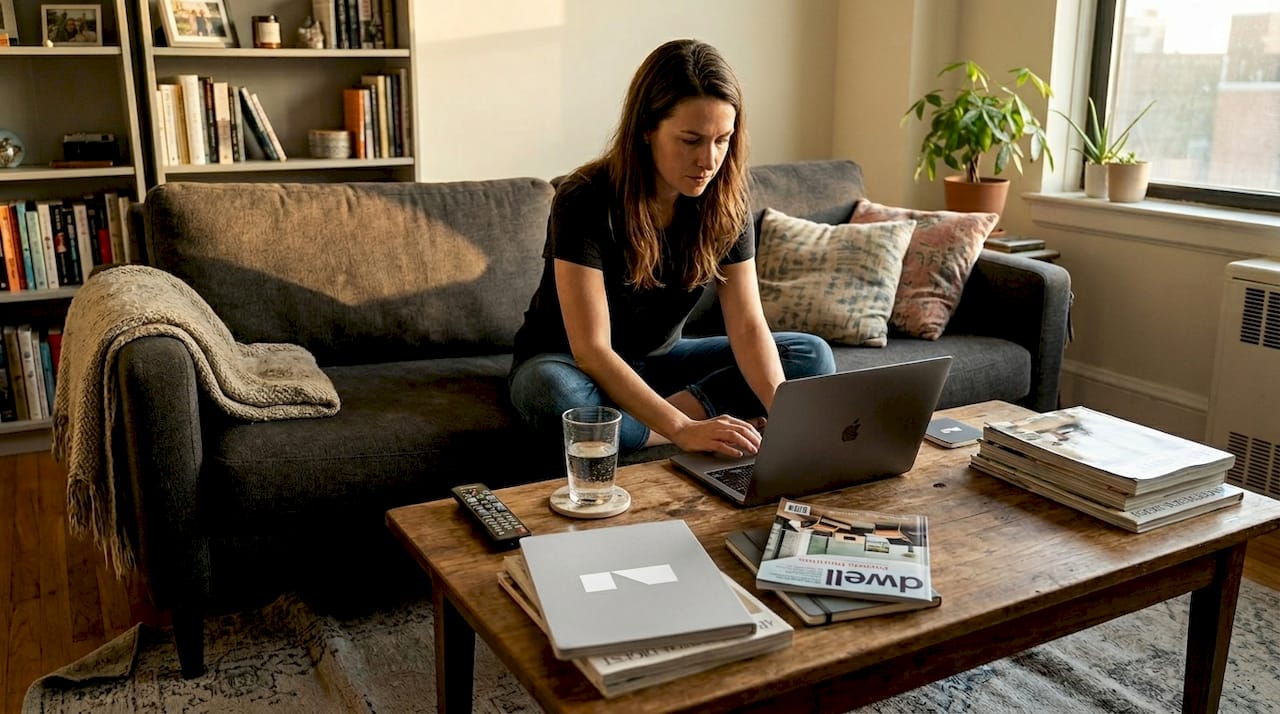
Most homeowners assume that getting professional-looking interior photos requires hiring a photographer or spending hours in Photoshop. That assumption is outdated. AI-driven photo enhancement has quietly changed the game, putting tools in your hands that can sharpen details, fix lighting, and make any room look its absolute best in under a minute. Whether you’re planning a renovation, listing your home, or just want better photos for your own records, this guide walks you through what quality enhancement actually means, how the technology works, and exactly how to use it.
Table of Contents
- What is quality photo enhancement?
- AI technologies behind photo enhancement
- How to measure photo enhancement quality
- Practical steps for enhancing your interior photos
- Choosing the right AI photo enhancement tool
- Start enhancing your interior photos with user-friendly AI tools
- Frequently asked questions
Key Takeaways
| Point | Details |
|---|---|
| AI makes photo enhancement easy | Recent advances mean anyone can achieve professional-looking interior photos with AI tools. |
| Perceptual quality matters most | Metrics like LPIPS and SSIM plus human judgment ensure interiors look both natural and inviting. |
| Choose intuitive tools for DIY | User-friendly apps empower homeowners and renovators to enhance photos quickly without technical expertise. |
| Preview and refine results | Always check enhanced photos for artifacts and naturalness before finalizing for planning or sharing. |
What is quality photo enhancement?
Quality photo enhancement is the process of improving an image’s clarity, color accuracy, detail, and overall visual appeal without making it look fake or over-edited. For interior photography specifically, this means bringing out the texture of a hardwood floor, correcting the warm cast from incandescent bulbs, or sharpening the edges of furniture that went soft in a low-light shot.
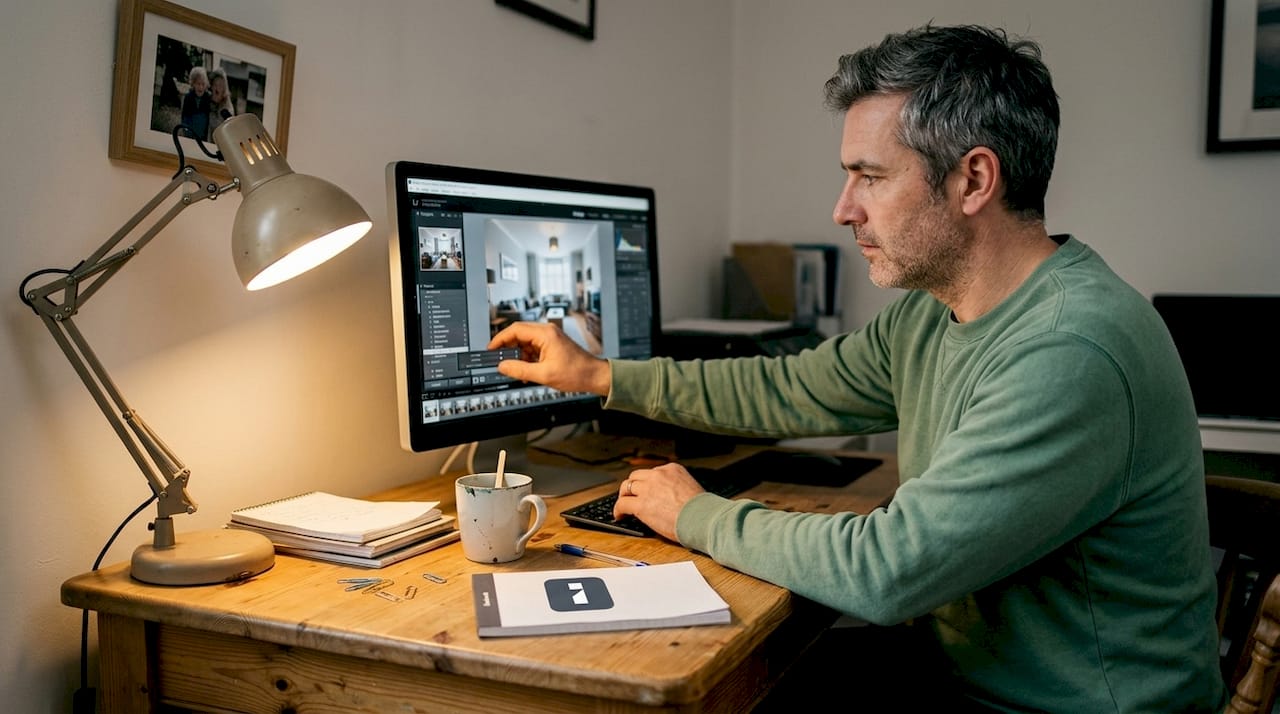
Traditional editing relied on manual adjustments in tools like Lightroom or Photoshop. You’d tweak exposure, drag sliders, and hope for the best. The results depended entirely on your skill level. AI-driven approaches flip that model. Instead of you telling the software how to fix the image, the AI analyzes the photo and applies corrections based on what it has learned from millions of images.
“The difference between traditional and AI enhancement isn’t just speed. It’s the ability to reconstruct detail that was never fully captured in the first place.”
For homeowners and DIY renovators, this matters because AI photo editing for real estate has become a practical tool, not just a professional luxury. And if you want a hands-on walkthrough, this stunning interior photo tutorial is a great starting point.
Key things quality enhancement improves in interior photos:
- Sharpness and detail: Brings out textures in fabrics, wood, and tile
- Lighting balance: Corrects overexposed windows and dark corners
- Color accuracy: Removes unwanted color casts from artificial lighting
- Noise reduction: Cleans up grain from low-light shots
- Upscaling: Increases resolution without blurring edges
Empirical benchmarks show AI enhancers scoring higher on PSNR, SSIM, and LPIPS metrics compared to traditional methods, which means better fidelity, better structure, and better perceptual quality all at once.
With the basics covered, let’s explore how modern AI technologies make photo enhancement easier and more effective.
AI technologies behind photo enhancement
The AI tools you use today are built on a few core model types, each with its own strengths. Understanding them helps you pick the right tool for your interior photos.
Core methodologies include CNNs, GANs, diffusion, hybrid approaches, each tackling enhancement from a different angle. Here’s how they compare:
| Model type | Strength | Best for interiors |
|---|---|---|
| CNN (Convolutional Neural Network) | Local feature sharpening | Texture and edge detail |
| GAN (e.g., Real-ESRGAN) | Perceptual realism | Upscaling with natural look |
| Diffusion models | Generative detail reconstruction | Filling in missing detail |
| Hybrid (e.g., Adobe Generative Upscale) | Balanced quality and realism | All-around interior enhancement |
For most homeowners, you don’t need to know which model is running under the hood. What matters is the output. GANs like Real-ESRGAN are excellent at making upscaled images look natural rather than artificially sharp. Diffusion models can actually generate plausible detail in areas that were blurry or underexposed. Hybrid tools combine these strengths.
Here’s a simple workflow for choosing and applying an AI enhancement tool:
- Identify your main problem: Is it blurriness, bad lighting, low resolution, or color issues?
- Match the tool to the problem: Upscaling tools for resolution, lighting-specific tools for exposure
- Upload your photo: Most tools accept JPEG or PNG files
- Apply the enhancement: Let the AI process the image
- Review and compare: Always check the before and after side by side
For DIY interior photo editing, tools like Topaz Photo AI, Adobe Firefly, and VibeMyFlat offer user-friendly interfaces that don’t require any technical knowledge. You describe what you want or click a button, and the AI handles the rest. Pairing good tools with solid lighting adjustment tips makes a noticeable difference in your final results.
Pro Tip: For interior shots, always choose tools that prioritize natural-looking results over maximum sharpness. Over-sharpened images look artificial and can actually make a room feel less inviting.
Now that you understand the technology, let’s see how quality is measured and what makes an enhancement truly effective.
How to measure photo enhancement quality
Not all “enhanced” photos are actually better. Knowing how quality is measured helps you avoid tools that make images look processed rather than polished.
The main metrics used to evaluate photo enhancement are:
| Metric | What it measures | Limitation |
|---|---|---|
| PSNR | Pixel-level accuracy vs. original | Doesn’t reflect how humans see images |
| SSIM | Structural similarity | Can miss perceptual appeal |
| LPIPS | Perceptual similarity | Aligns with human judgment |
| DISTS | Texture and structure similarity | Strong for interior surfaces |
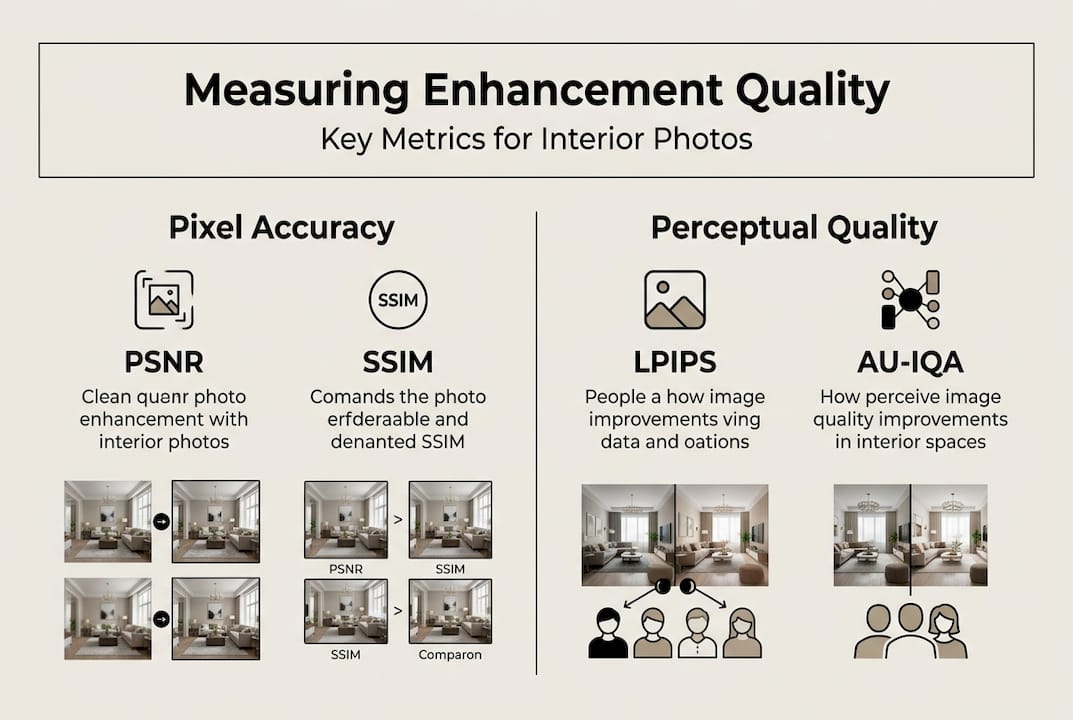
Pixel vs. perceptual metrics for image quality research shows that PSNR and SSIM favor fidelity but miss perceptual appeal, while LPIPS and DISTS align much better with how humans actually judge image quality. For interior photos, this distinction is critical.
Why? Because a room photo that scores perfectly on PSNR might still look flat or artificial to the human eye. What you actually want is a photo where the lighting feels natural, the textures look real, and the space feels inviting.
“For renovation planning and home visualization, perceptual quality beats pixel-perfect accuracy every time. Your eye knows what looks right.”
Common pitfalls to watch for:
- Over-sharpening: Creates a crunchy, artificial look on walls and fabrics
- Noise amplification: Some AI tools sharpen noise along with detail
- Color shifting: Enhancement can push colors away from their real appearance
- Artifact introduction: In no-reference scenarios (no original to compare), AI may add detail that wasn’t there
For user-friendly editing for apartments, the best approach is to trust your eyes first and metrics second. If the enhanced photo looks more natural and inviting than the original, you’re on the right track. Tools that let you transform your space with AI often include side-by-side previews for exactly this reason.
With metrics in mind, let’s dive into practical steps for enhancing your own interior images with AI.
Practical steps for enhancing your interior photos
Here’s a straightforward workflow you can follow today, regardless of which AI tool you choose.
- Prepare your photo: Start with the best original you have. Even AI has limits. A well-lit, steady shot will always produce better results than a blurry, dark one.
- Adjust lighting first: Fix major exposure issues before running enhancement. Most AI tools do better when the base image isn’t severely underexposed.
- Run the AI enhancement: Upload to your chosen tool and apply the enhancement. For interior shots, use settings that prioritize natural textures over maximum detail.
- Upscale if needed: If you need a larger image for printing or presentations, apply upscaling after enhancement, not before.
- Refine specific areas: Some tools let you apply targeted adjustments to windows, shadows, or specific surfaces.
- Preview and compare: Always look at the before and after. If something looks off, dial back the intensity.
AU-IQA highlights need for perceptual metrics in interiors research confirms that natural lighting and textures are the most important factors for interior image quality, not raw pixel sharpness. Keep that in mind as you review your results.
For more detailed guidance, this interior photo editing tutorial covers the full process step by step. And if you’re looking for inspiration on what’s possible, check out these interior redesign ideas to see how enhanced photos can completely change how a space is perceived.
Pro Tip: Always preview your enhanced image at 100% zoom before saving. Artifacts and over-processing are much easier to spot at full size than in a thumbnail view.
By following these steps, your photos can truly showcase your space. Now, let’s summarize how to choose the right AI solution for your needs.
Choosing the right AI photo enhancement tool
With dozens of tools available, picking the right one comes down to a few practical criteria.
Hybrid approaches: Adobe Generative Upscale, Topaz models offer intuitive user experiences alongside strong perceptual quality improvements, making them solid choices for homeowners who want professional results without a steep learning curve.
Here’s what to look for when evaluating any AI photo enhancement tool:
- Ease of use: Can you get results without reading a manual? One-click or natural language interfaces are ideal for DIY users.
- Preview and undo: You need to see results before committing and be able to reverse them easily.
- Natural output: Does the enhanced image look real, or does it look processed? Test with an interior shot before committing.
- Lighting and texture handling: Interior photos live or die on how well lighting and surface textures are preserved.
- Speed: For quick renovation planning or listing updates, tools that process in under 30 seconds are far more practical.
- Device compatibility: Web-based tools and mobile apps give you flexibility to edit from anywhere.
For a broader look at how to evaluate editing platforms, this seamless photo editing guide covers the key features worth prioritizing. If you’re new to AI editing in general, this natural language editing guide explains how describing your edits in plain English can replace complex manual controls entirely.
The best tool is the one you’ll actually use consistently. Start simple, test with a few of your own photos, and build from there.
Start enhancing your interior photos with user-friendly AI tools
If you’ve made it this far, you already know more about AI photo enhancement than most homeowners. The next step is putting that knowledge to work on your own spaces.

VibeMyFlat’s AI photo editor for interiors is built specifically for homeowners and DIY renovators who want professional results without the complexity. You describe what you want in plain language, and the AI handles the rest in under 30 seconds. No sliders, no technical settings, no learning curve. Pair the editor with practical lighting tips for interiors to get the most out of every shot. Whether you’re planning a renovation or just want your living room to look its best, VibeMyFlat gives you the tools to make it happen quickly and naturally.
Frequently asked questions
How does AI photo enhancement improve interior photos?
AI enhancement uses models like CNNs and GANs to reconstruct detail and lighting, making rooms look sharper, more balanced, and more inviting without manual editing.
Can AI tools remove lighting flaws or clutter in room photos?
Yes. Most AI tools automatically correct exposure, color balance, and lighting issues, and AI enhancers outperform traditional methods on both structural and perceptual quality benchmarks.
What are the risks of relying only on AI for photo enhancement?
AI can introduce unnatural artifacts, especially in no-reference scenarios with artifact risk where there’s no original image to compare against. Always preview results before saving.
How do you measure if your enhanced photo is actually better?
Trust your eyes first. Metrics like LPIPS and DISTS align with human perception better than PSNR, but the real test is whether the room looks natural, inviting, and accurate to real life.