Step by Step Room Redesign: Your Practical Makeover Guide
Step by Step Room Redesign: Your Practical Makeover Guide

TL;DR:
- A structured room redesign process follows a strict sequence to ensure both aesthetic and functional success. Skipping steps like measurement and layout planning causes costly mistakes and cluttered results. Implementing the process over three to six months allows for testing, adjustments, and more deliberate design choices.
A step by step room redesign is the process of transforming a room through a structured sequence of design decisions that improve both aesthetics and function. Most redesign failures trace back to one cause: skipping steps. Designers follow a strict order of purpose, layout, color, lighting, furniture, and decor because each decision narrows the next, preventing costly clashes and choice fatigue. Whether you are a homeowner planning a full overhaul or a renter working around a landlord’s rules, this guide gives you a clear, phased process that keeps your budget intact and your results lasting.
How to start your step by step room redesign: goals, budget, and measurements
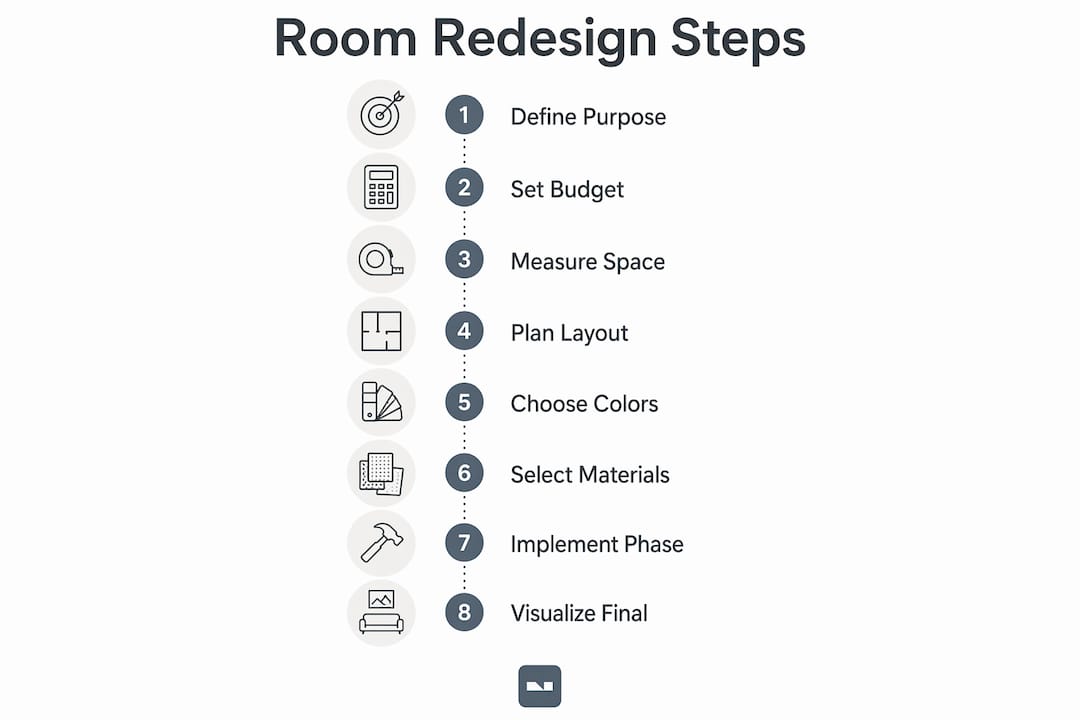
Every successful redesign starts with three non-negotiable inputs: a clear purpose for the room, a realistic budget, and accurate measurements. Skip any one of these and you will make decisions that conflict with each other later.
Define the room’s purpose first. A bedroom used only for sleeping needs different furniture density and lighting than one that doubles as a home office. Write down every activity that happens in the room and rank them by frequency. That list becomes your design brief.
Set your budget before you browse anything. Apartment renovations in 2026 typically cost between $10,000 and $45,000 for full work, but targeted cosmetic refreshes like painting or fixture updates can be done under $1,500. Knowing which category you are in prevents you from falling in love with options outside your range.
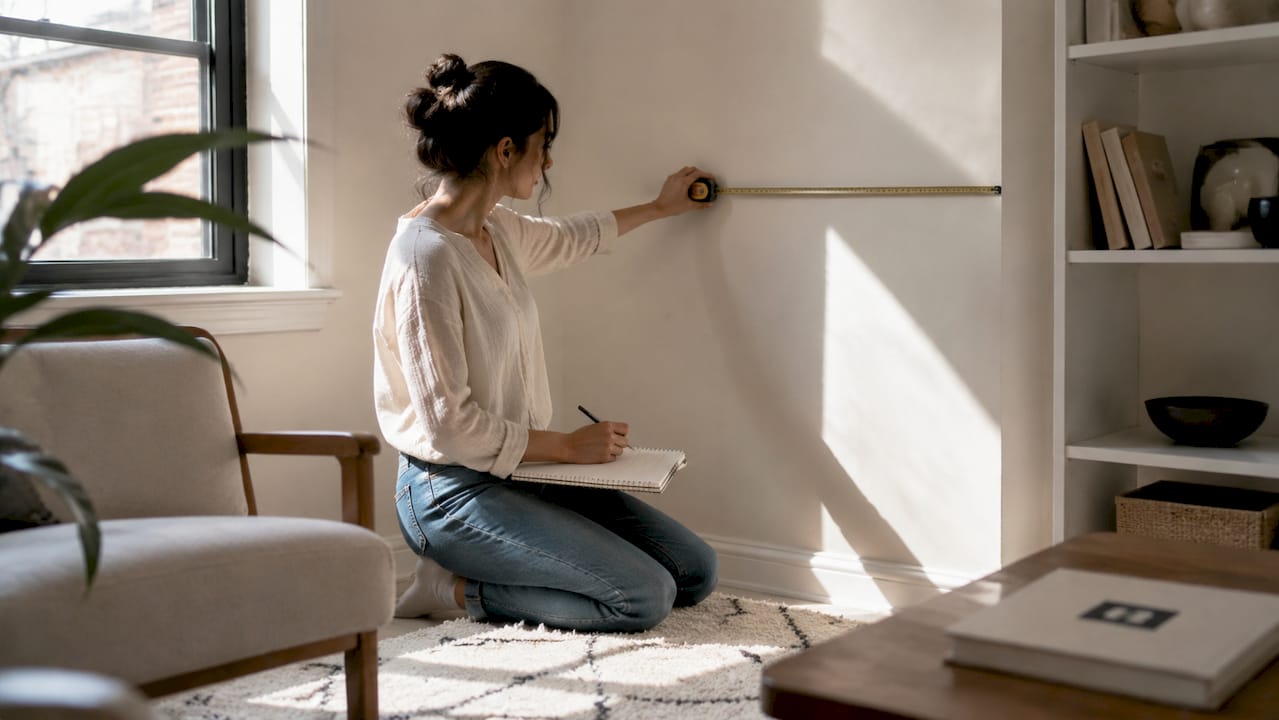
Measure everything, then measure again. Record wall lengths, ceiling height, window and door positions, and the location of every outlet and switch. Design standards require 900mm walkways for comfortable movement through any room. Ignoring clearance at this stage is the single most common cause of furniture that does not fit.
Renters need one extra step. Check your lease before planning anything structural or permanent. Reversible updates like removable wallpaper and cabinet hardware swaps deliver high visual impact without risking your deposit. For ideas on working within tight constraints, the Vibemyflat guide on planning apartment makeovers covers renter-friendly approaches in detail.
Build a moodboard before you spend a dollar. Collect images that reflect the feeling you want, not just the objects you like. A moodboard reveals whether your instincts are pulling toward a consistent style or a conflicting mix.
Pro Tip: Test paint samples on the actual wall under both natural and artificial light before committing. Store lighting makes colors look completely different from how they appear at home.
How should you plan your room layout and flow?
Layout planning is where most homeowners make their biggest mistake: they push all furniture against the walls. Floating furniture slightly away from walls creates a more intimate, sophisticated feel, even in small spaces. The room reads as intentionally designed rather than just filled.
Clearance distances are not suggestions. They are the difference between a room that feels comfortable and one that feels cramped. Use these standards as your floor plan baseline:
- 900mm minimum walkway width for main circulation paths
- 450mm gap between sofa and coffee table for comfortable reach
- 750mm dining chair clearance behind each seat for pulling in and out
- 600mm bedside clearance on each side of a bed for daily use
Define activity zones within the room before placing any furniture. A living room might have a conversation zone, a reading corner, and a media area. Each zone gets its own furniture grouping, rug, and light source. This approach makes a single room feel purposeful rather than random.
Use painter’s tape on the floor to outline the footprint of each piece of furniture before you buy or move anything. This technique costs nothing and prevents the most common layout regret: a sofa that blocks a door or a dining table that leaves no room to pull out chairs.
Pro Tip: Identify one focal point in the room, such as a fireplace, window, or feature wall, and arrange furniture to face or frame it. Rooms without a focal point feel visually restless.
Avoid these common layout errors: placing a rug too small for the seating group, centering furniture on the room rather than on the focal point, and buying a coffee table before confirming the sofa dimensions. For compact spaces, space-saving layout strategies can help you get more function from less floor area.
Choosing colors, lighting, and materials that work together
Color selection follows a three-tier structure used by professional interior designers: a foundation color for walls and large surfaces, one or two supporting tones for mid-sized elements like upholstery and cabinetry, and accent colors for textiles and accessories. This structure prevents the scattered, unfinished look that comes from buying items in isolation.
Paint colors must be tested on the actual wall across different times of day, not just held up as a chip under store lighting. A warm white that looks perfect in the paint store can read as yellow or pink in your north-facing bedroom. Apply a sample pot to a large section of wall and observe it over 48 hours before committing.
Lighting is the most underestimated element in a room redesign. Layered lighting combines three types to create a room that feels warm, functional, and finished:
- Ambient lighting provides overall illumination, typically from ceiling fixtures or recessed lights
- Task lighting targets specific activities like reading, cooking, or desk work
- Accent lighting highlights architectural features, artwork, or shelving for visual depth
Materials and textures add the final layer of cohesion. A room with all smooth surfaces feels cold. A room with all soft surfaces feels heavy. Mix hard materials like wood, metal, or stone with soft ones like linen, wool, or velvet. The contrast creates visual interest without requiring more furniture or color. For bespoke storage solutions that work within a defined layout, fitted wardrobes and cabinetry can resolve both function and aesthetic in one decision.
Implementing your redesign in phases to protect your budget
Trying to complete a room redesign in a single weekend increases impulse buying and regret. Spreading the work over three to six months improves budget control and lets you test how the space actually functions before committing to the next layer of spending.
A six-month phased approach prevents the majority of common design mistakes. Here is how to sequence it:
- Month 1: Paint and layout reset. Strip the room back. Repaint walls, rearrange or remove existing furniture, and establish your clearance zones with painter’s tape.
- Month 2: Core furniture. Buy only the structural anchors: sofa, bed, dining table, or desk. These pieces set the scale for everything that follows.
- Month 3: Lighting. Replace or add fixtures to build your three-layer lighting plan. This step changes the mood of the room more than almost any other.
- Month 4: Textiles. Add rugs, curtains, cushions, and throws. Textiles soften the room and introduce pattern and warmth without permanent commitment.
- Month 5: Storage. Solve practical problems with shelving, baskets, or built-ins. Storage added after living in the space reflects real needs, not guesses.
- Month 6: Styling. Add art, plants, books, and objects. Edit ruthlessly. A room with fewer, better-chosen pieces always looks more considered than one that is full.
Spend the most on items you touch every day and that anchor the room visually. A quality sofa or bed frame justifies a higher budget. Decorative accessories do not.
Pro Tip: Shop secondhand for accent furniture and accessories. Vintage pieces add character that new items rarely replicate, and the savings fund higher-quality anchors.
For renters, phases four through six are where most of the design impact lives, and all of it is reversible. Removable wallpaper, peel-and-stick tiles, and swapped cabinet hardware can redesign a living space without touching anything permanent.
Key Takeaways
A step by step room redesign succeeds when you follow a strict sequence: define purpose, measure accurately, plan layout, select colors and lighting, then execute in phases over three to six months.
| Point | Details |
|---|---|
| Sequence prevents mistakes | Follow purpose, layout, color, lighting, furniture, and decor in order to avoid costly clashes. |
| Measure before you buy | Apply 900mm walkway and 450mm sofa-to-table clearance standards before placing any furniture. |
| Test paint on the wall | Observe sample colors over 48 hours under real light before committing to a full application. |
| Phase your spending | A six-month rollout prevents impulse purchases and lets you adjust after living in the space. |
| Renters have real options | Removable wallpaper, hardware swaps, and textiles deliver high impact without risking deposits. |
What I have learned from watching redesigns go wrong
The most common redesign failure I see is not a bad taste choice. It is impatience. Homeowners and renters skip the measurement and layout phase because it feels administrative, then spend money on furniture that does not fit or lighting that cannot be repositioned once the sofa is in place.
The phased approach feels slow when you are excited about a new look. But living in a half-finished room for a month teaches you things no moodboard can. You discover that the reading corner gets no natural light after noon, or that the dining area is too close to the kitchen traffic path. Those observations are worth more than any design rule.
Function over trends is the principle I return to most often. A room that photographs beautifully but frustrates you daily is a failed redesign. Prioritize the clearances, the lighting layers, and the storage before you think about styling. The styling is the easy part once the structure is right.
Floating furniture away from walls is the single tip that surprises people most. It feels counterintuitive in a small room. Every time I have seen it applied correctly, the room reads as larger, not smaller. The space around the furniture becomes part of the composition.
Editing is not a sign that the redesign went wrong. It is the final phase. The best rooms are the ones that had things removed, not added.
— Hello
Visualize your redesign before you commit to anything
Seeing a change before you make it is the most underrated part of the redesign process. Vibemyflat lets you upload a photo of your room and describe the changes you want in plain language, whether that is a new wall color, different lighting, or a furniture rearrangement. The AI processes your request in under 30 seconds and returns a realistic edited image.
This means you can test three paint colors on your actual room photo before buying a single sample pot. You can preview how a floating sofa arrangement reads in your specific space, or how layered lighting changes the mood of your bedroom at night. Vibemyflat works on both iOS and Android, so you can use it anywhere. Try it free at Vibemyflat.com and make every redesign decision with confidence.
FAQ
What is the correct order for a room redesign?
Designers follow a strict sequence of purpose, layout, color, lighting, furniture, and decor. Performing steps out of order causes visual clashes and decision fatigue.
How long should a room redesign take?
A phased redesign over three to six months produces better results than a single-weekend effort. Spreading the work lets you test function and avoid impulse purchases at each stage.
What clearance distances should I follow for furniture placement?
Standard clearances include 900mm for walkways, 450mm between sofa and coffee table, 750mm behind dining chairs, and 600mm on each side of a bed. These measurements keep the room comfortable to move through daily.
Can renters do a meaningful room redesign?
Renters can achieve high-impact results using reversible updates like removable wallpaper, peel-and-stick tiles, and cabinet hardware swaps. These changes require no permanent alterations and protect security deposits.
How do I choose the right paint color for my room?
Apply sample pots directly to the wall and observe them under both natural and artificial light over 48 hours. Store lighting distorts undertones, so the wall test is the only reliable way to judge a color before full application.