How to Prep Interiors for Showcasing: 2026 Guide
How to Prep Interiors for Showcasing: 2026 Guide
TL;DR:
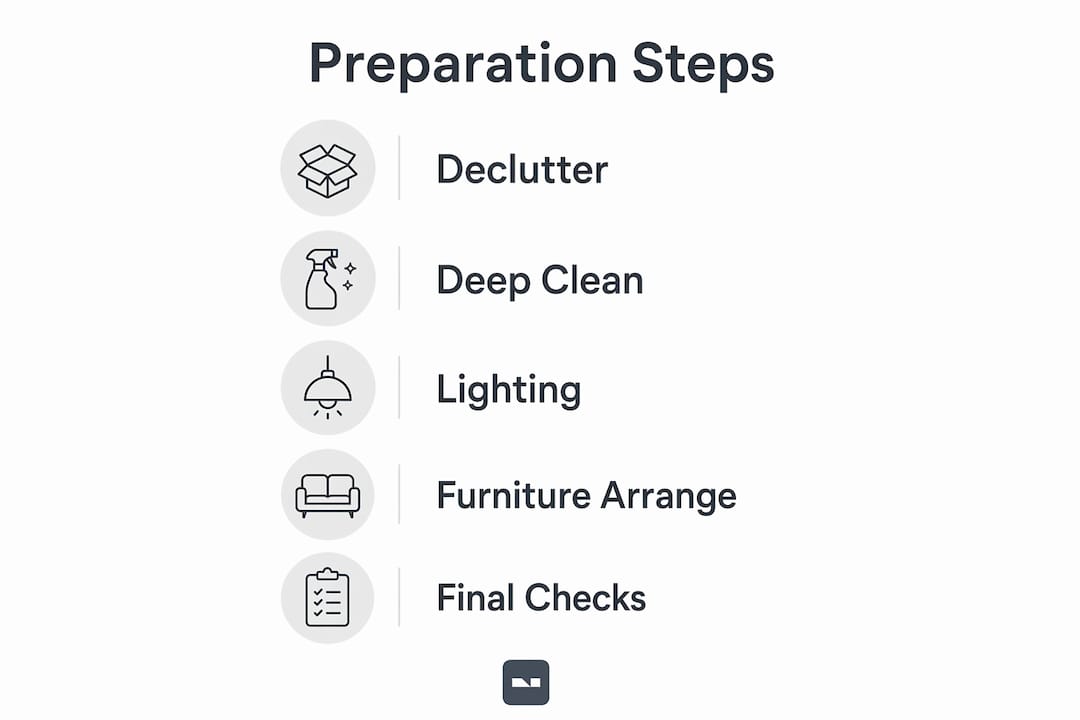
- Preparing interiors for showcasing involves decluttering, thoroughly cleaning, depersonalizing, optimizing lighting, and arranging furniture to enhance visual appeal. Starting at least 24 hours before photos or showings ensures small details are addressed, creating a welcoming, spacious feel that appeals to buyers. Vibemyflat offers AI-powered editing to refine images post-shoot, making listings look professional and inviting.
Prepping interiors for showcasing is the process of creating a clean, clutter-free, well-lit, and inviting space that lets potential buyers picture themselves living there. Known in the industry as home staging, this practice directly affects buyer perception, listing photo quality, and how quickly a property sells. The most effective preparation combines decluttering, deep cleaning, lighting optimization, and lifestyle merchandising. Skipping any one of these steps leaves money on the table. This guide walks you through each stage with the specificity you need to get it right.
How to prep interiors for showcasing: declutter and depersonalize first
Decluttering and depersonalizing are the foundation of every successful staging effort. Removing personal items such as family photos, certificates, and children’s artwork helps buyers imagine their own life in the space instead of feeling like a guest in yours. Without that mental shift, even a beautifully furnished room fails to convert interest into offers.
The goal is not just tidiness. Active removal of clutter should reduce visible items by roughly one-third per room for the best effect. That means pulling excess chairs, clearing kitchen counters down to one or two objects, and stripping bathroom surfaces to the bare minimum.
One mistake sellers make repeatedly is hiding removed items in garages or closets. Storing depersonalized items in garages or closets signals insufficient storage to buyers who open every door. Off-site storage units or donating items before the listing is the cleaner solution.
Key decluttering tasks by area:
- Living room: Remove all but one or two decorative objects per surface. Pull out extra throw pillows, blankets, and side tables.
- Kitchen: Clear countertops completely except for one small appliance. Remove magnets, papers, and personal notes from the refrigerator.
- Bedrooms: Strip nightstands to a lamp and one book. Remove clothing from visible hooks and chairs.
- Bathrooms: Keep only one set of matching towels and one soap dispenser. Remove all personal care products.
- Closets: Reduce hanging items by half. Buyers read a full closet as a small closet.
Pro Tip: Start your declutter at least 24 hours before the photo session or showing. Rushing this step the morning of the shoot causes missed details that show up clearly in professional photos.
How should you deep clean interiors to meet professional showcasing standards?
Camera-ready cleaning goes well beyond a standard weekend tidy. High-resolution photography reveals small cleanliness flaws that typical cleaning misses, including water spots on faucets, grease film on stovetops, and smudges on glass surfaces. A buyer scrolling listings on a phone will notice these details before they ever schedule a visit.
The rooms that require the most attention are the kitchen and bathrooms. Polish stainless steel appliances with a dedicated cleaner to remove fingerprints and streaks. Degrease the stovetop and hood vent thoroughly. Wipe down cabinet fronts, especially around handles where grease accumulates over time.
Pet evidence is a category of its own. Remove pet beds, food bowls, and toys before photos and showings. Odors are harder to address than visual clutter, so use an enzyme-based cleaner on any fabric surfaces and ventilate the home for at least two hours before guests arrive.
Cleaning priority checklist:
- Polish all mirrors and glass surfaces until streak-free
- Degrease stovetop, hood vent, and oven exterior
- Descale faucets and remove water spots from sinks
- Wipe cabinet fronts, door handles, and light switch plates
- Mop hard floors and deep vacuum carpets and rugs
- Clean window glass inside and out
- Remove pet odors from upholstery and carpets
- Wipe baseboards and door frames
| Area | Common miss | Fix |
|---|---|---|
| Kitchen | Grease on hood vent | Degrease with a dedicated degreaser spray |
| Bathrooms | Water spots on faucets | Descale with white vinegar or a limescale remover |
| Windows | Interior smudges | Clean both sides with a streak-free glass cleaner |
| Floors | Scuff marks near doors | Use a magic eraser or floor-specific cleaner |
| Light fixtures | Dust on bulbs and shades | Wipe with a dry microfiber cloth |
Pro Tip: Replace every burnt-out bulb before the photographer arrives. Mismatched or missing bulbs create uneven shadows that no amount of editing fully corrects.
How to optimize lighting and window treatments to brighten interior spaces
Lighting is the single most underestimated variable in interior presentation. Turning on every lamp, overhead fixture, and under-cabinet light during showings and photo sessions maximizes brightness and eliminates dark corners. Basements and north-facing rooms photograph significantly darker than they feel in person, so additional light sources are not optional in those spaces.
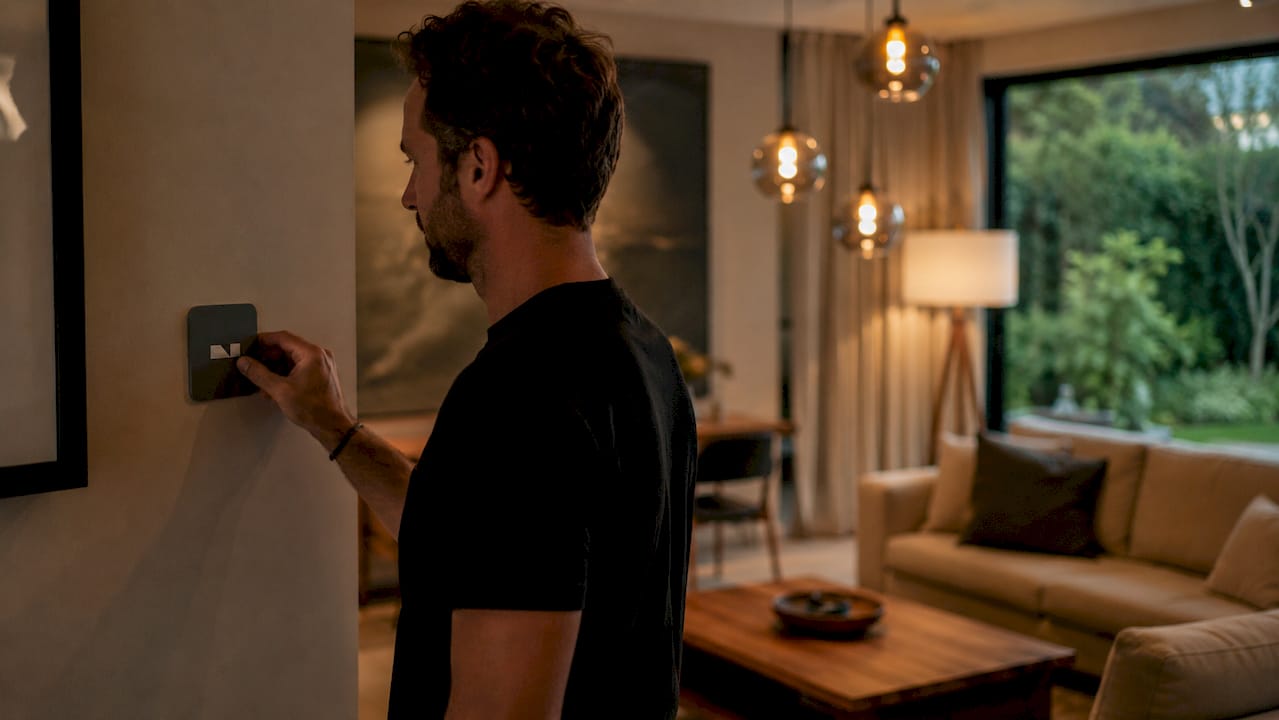
Bulb consistency matters as much as quantity. Replacing burned-out bulbs with a consistent 3000K color temperature creates warm yet crisp lighting favored for real estate photography. Mixed bulb temperatures, such as a 2700K warm bulb next to a 5000K daylight bulb, produce color casts that make rooms look unfinished and difficult to photograph accurately.
Window treatments play a structural role in how large a room feels. Opening blinds fully and using long neutral drapes hung close to the ceiling creates a perception of bigger, brighter rooms without any construction. The curtain rod should sit two to four inches below the ceiling line, and the fabric should just graze the floor.
Practical lighting checklist:
- Open all blinds and curtains fully before photos and showings
- Clean window glass on both sides to avoid spots visible in photos
- Replace all bulbs with 3000K equivalents for consistent color temperature
- Turn on every light source in the home, including closet lights
- Add a floor lamp to any corner that still reads dark after overhead lights are on
- Use mirrors on walls opposite windows to reflect natural light deeper into the room
Pro Tip: A large mirror placed directly across from a window can effectively double the perceived natural light in a room. This works especially well in narrow hallways and small bedrooms.
For more detail on managing light in listing photos, the lighting adjustment guide from Vibemyflat covers both in-room setup and post-production corrections.
What styling and furniture arrangement techniques create an inviting space?
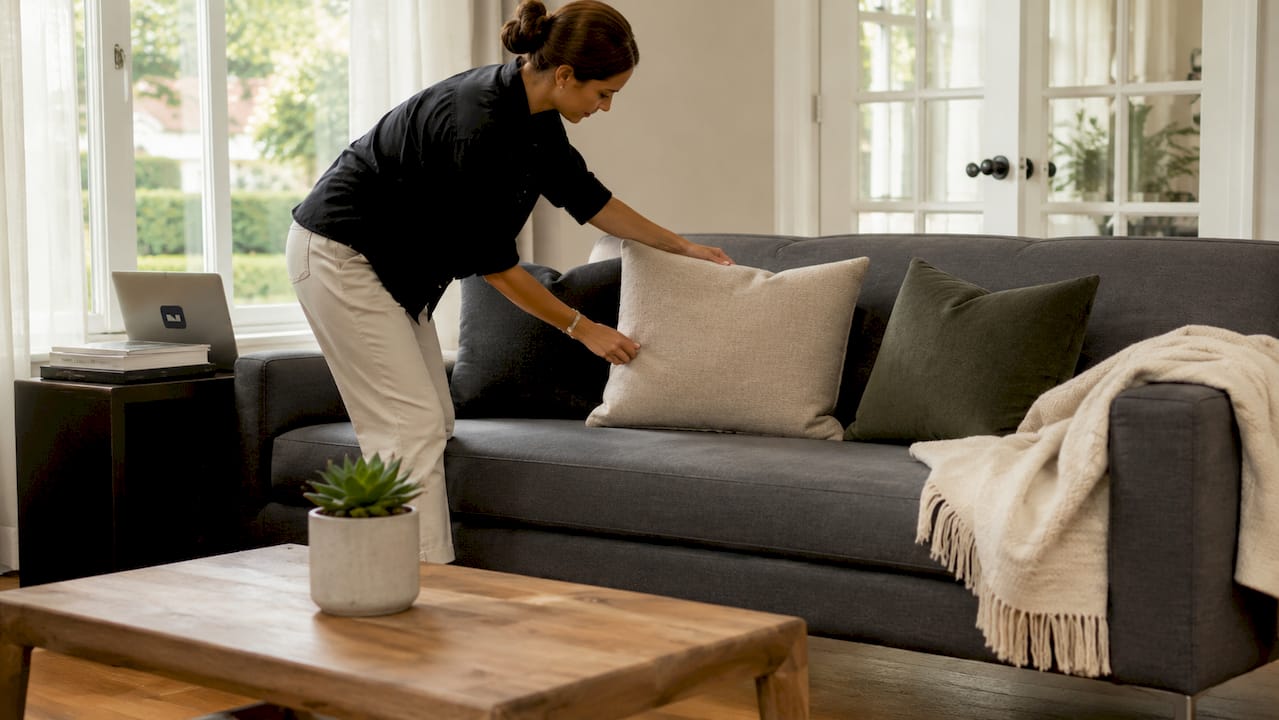
Furniture arrangement shapes how buyers read a room’s size and function. Floating furniture slightly away from walls and squaring rugs beneath seating groups helps buyers understand room size and flow. Pushing sofas against walls is a common instinct, but it actually makes rooms feel smaller by eliminating the sense of depth.
Lifestyle merchandising focuses on arranging spaces so buyers emotionally envision living there, not just inspecting features. A dining table set with simple place settings suggests dinner parties. A reading nook with a single chair, lamp, and book suggests comfort. These small cues shift buyer focus from square footage to feeling.
Styling steps by room:
- Living room: Create one conversational seating group. Remove any chair or table that does not serve a clear purpose. Square the rug under the front legs of the sofa.
- Dining room: Set the table simply or leave it completely clear. Remove extra chairs if the room feels crowded.
- Master bedroom: Make the bed hotel-tight with neutral, wrinkle-free linens. Add two matching nightstands and matching lamps for symmetry.
- Kitchen: Style with one bowl of fresh fruit or a small plant. Nothing else on the counter.
- Bathrooms: Fold towels in thirds and hang them evenly. Add one small plant or a single candle for warmth.
| Approach | Effect on buyer perception |
|---|---|
| Furniture floated from walls | Room reads larger and more functional |
| Neutral linens on beds | Buyers project their own style onto the space |
| Minimal counter styling | Kitchen feels clean and spacious |
| Matching lamps in bedrooms | Creates symmetry that reads as polished |
| Fresh greenery or fruit | Adds life without personalizing the space |
Replacing worn or dated items before listing pays off. A faded area rug or a dated light fixture signals deferred maintenance to buyers, even when everything else is pristine. Swap these items before the photographer arrives, not after the first showing.
What final checks ensure readiness before showings and photography?
Starting prep 24 hours in advance prevents the rushed, flawed results that come from last-minute preparation. Professional photographers treat interior prep as critical to image quality. Arriving to a home that still needs work delays the shoot and increases the chance of costly restyling.
Walk through each room the morning of the shoot with fresh eyes. Pretend you are a buyer seeing the space for the first time. Look for charging cords on nightstands, remote controls on coffee tables, and personal devices left on counters. These items are invisible to sellers who live in the space but immediately visible in photos.
Final walkthrough checklist:
- Remove all vehicles from the driveway and any visible trash bins
- Tuck away charging cords, remotes, and personal devices
- Confirm every light is on and every blind is fully open
- Check that windows are clean on both sides
- Remove pet items from all rooms
- Confirm beds are made and towels are folded
- Check that toilet lids are down in all bathrooms
Pro Tip: Ask a friend or colleague to walk through the home before the photographer arrives. A fresh set of eyes catches the details you have stopped seeing after days of preparation.
For a complete room-by-room approach, the home staging inspiration list from Vibemyflat provides additional checklists built specifically for 2026 listing standards.
Key Takeaways
Effective interior showcasing preparation combines decluttering, camera-ready cleaning, consistent lighting, and lifestyle-focused styling to maximize buyer appeal and listing photo quality.
| Point | Details |
|---|---|
| Start 24 hours early | Begin deep cleaning and decluttering the day before to avoid rushed, visible mistakes. |
| Depersonalize completely | Remove family photos, personal items, and excess décor so buyers can picture their own life. |
| Match bulbs to 3000K | Consistent color temperature across all fixtures produces clean, professional listing photos. |
| Float furniture from walls | Moving seating groups away from walls makes rooms read larger and more functional. |
| Use lifestyle merchandising | Style each room to suggest how it is lived in, not just what it contains. |
Why the details matter more than sellers expect
Sellers consistently underestimate how much small details affect buyer decisions. A smudge on a faucet, a mismatched bulb, or a sofa pushed flat against a wall each signal something to a buyer, even if they cannot name what bothers them. The cumulative effect of getting these details right is a home that photographs well, shows well, and sells faster.
The concept of lifestyle merchandising changed how I think about staging entirely. Decorating a home for sale is not about making it look beautiful in an abstract sense. It is about telling a story that a specific buyer can step into. A well-placed reading chair does more work than an expensive piece of art. A hotel-tight bed with neutral linens invites projection in a way that a personalized bedroom never can.
The most common mistake I see is sellers who treat staging as a last-minute cosmetic fix rather than a preparation process. The homes that sell quickly are the ones where the seller started removing, cleaning, and rearranging weeks before the listing went live. That timeline allows for replacing a dated light fixture, sourcing matching towels, and finding off-site storage for excess furniture. Rushing these steps into 48 hours produces a home that looks almost ready, and almost ready does not close deals.
Invest the time. The return on a well-prepared interior shows up in fewer days on market and stronger offers.
— Hello
How Vibemyflat supports your interior showcasing preparation
Preparing a home for sale takes time, and the photos you produce from that preparation carry the listing. Vibemyflat gives homeowners and real estate agents a fast way to refine and enhance interior photos after the shoot, using AI to adjust lighting, change wall colors, and clean up visual details in under 30 seconds.

If your staging prep produced a great space but the photos still need work, Vibemyflat’s AI photo editing platform lets you describe the change you want in plain language and receive professional results instantly. No design software experience required. Whether you need to brighten a dark corner, update a wall color, or remove a distracting object from the frame, Vibemyflat handles it on any device. See what your listing photos can look like at vibemyflat.com.
FAQ
What does prepping interiors for showcasing actually involve?
Prepping interiors for showcasing means decluttering, deep cleaning, depersonalizing, optimizing lighting, and arranging furniture to help buyers visualize living in the space. The industry term for this process is home staging.
How far in advance should you start preparing a home for photos?
Begin prep at least 24 hours before the photo session or showing to avoid rushed results and missed details that appear clearly in professional images.
What bulb color temperature works best for listing photos?
3000K bulbs provide a warm yet crisp light that photographs well in real estate interiors. Using the same temperature in every fixture prevents color casts that make rooms look uneven.
Should you store decluttered items in closets before a showing?
No. Storing items in closets or garages signals a lack of storage to buyers who inspect those spaces. Use off-site storage or donate items before the listing goes live.
What is lifestyle merchandising in home staging?
Lifestyle merchandising is the practice of arranging a space so buyers emotionally connect with how they would live there, not just what the room contains. It shifts buyer focus from physical dimensions to daily life potential.