Streamline Your AI Photo Editing Workflow: Real Estate
Streamline Your AI Photo Editing Workflow: Real Estate

TL;DR:
- AI-powered editing drastically reduces property photo editing time by up to 96 percent.
- Proper preparation, organization, and human review ensure accurate and ethical AI-generated images.
- Hybrid human-AI workflows offer the best balance of efficiency and nuanced correction quality.
Slow, repetitive photo editing is one of the biggest time drains for real estate agents, interior designers, and homeowners trying to get listings or projects off the ground. You shoot a full property, then spend hours adjusting brightness, correcting colors, and removing clutter from dozens of shots. It adds up fast. AI-powered editing workflows change that equation entirely, cutting editing time dramatically while delivering results that look polished and professional. This guide walks you through exactly what to prepare, how to execute an efficient AI editing process, and how to review your results so every image earns its place in your listing or portfolio.
Table of Contents
- What to prepare: Tools, images, and best practices
- Step-by-step workflow: From upload to export
- Checking and correcting: Avoiding common AI pitfalls
- Final review and delivery: Ensuring quality and impact
- Why striking the human-AI balance is the real secret
- Ready to transform your photo editing workflow?
- Frequently asked questions
Key Takeaways
| Point | Details |
|---|---|
| AI saves time | A well-set workflow with AI tools can cut your editing time by as much as 96 percent. |
| Human checks matter | Quality and accuracy improve when you manually review and adjust AI-edited photos. |
| Hybrid works best | Successful pros combine AI speed with human judgment for reliable, impactful results. |
| Prepare for pitfalls | Understand common AI errors to prevent misrepresentation and maximize your listing’s appeal. |
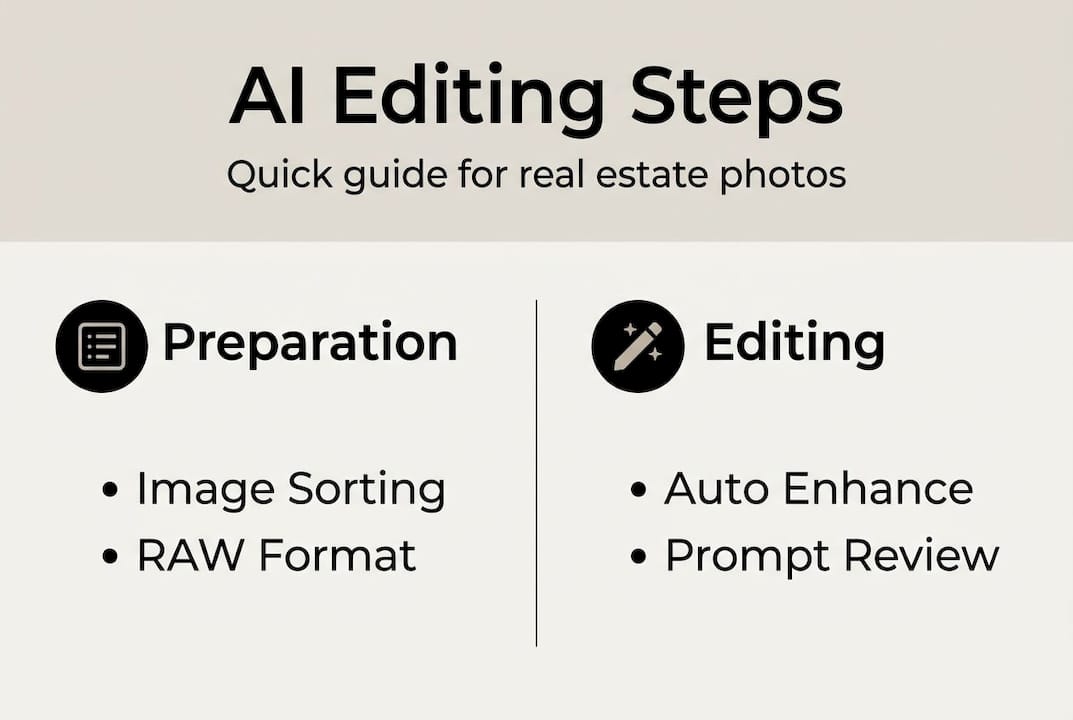
What to prepare: Tools, images, and best practices
Before you touch a single photo, getting your setup right makes the difference between a smooth workflow and a frustrating one. Think of this stage as laying the foundation. A solid start means fewer corrections later and a much faster overall process.
Hardware and software checklist:
- A computer or tablet with at least 8GB RAM for smooth processing
- A stable, fast internet connection (AI tools are cloud-based and need reliable bandwidth)
- A top-rated AI editing platform suited to real estate or interior photos
- Cloud storage or an external drive for backups
- A color-accurate monitor so you can trust what you see on screen
File format matters more than most people realize. Always shoot in RAW if your camera supports it, since RAW files preserve far more detail than JPEGs. When uploading to AI platforms, JPEG or TIFF at high resolution (at least 2000 pixels on the long side) gives the algorithm enough data to work with. Low-resolution images produce muddy, over-processed results that no AI can fully fix.
Organizing your images before editing is a step most people skip, and it costs them later. Sort photos by room or space type before uploading. Group living room shots together, kitchen shots together, and so on. This makes batch processing far more efficient because you apply consistent settings across similar lighting conditions.
There’s also an ethical dimension worth taking seriously, especially for property listings. Only edit photos to accurately represent the space. Removing a temporary piece of furniture is fine. Digitally expanding a room or hiding structural issues is not. Many MLS platforms now have explicit rules about photo manipulation, and violating them can cost you your listing or your license.
Pro Tip: Back up your original, unedited images to a separate folder before you start. AI tools can make irreversible changes, and you always want the raw originals available if a client or platform questions the accuracy of your edits.
AI-powered editing saves 85 to 96% of time compared to manual methods when set up effectively. That kind of gain only happens when your files and workflow are organized from the start. Explore AI solutions for real estate to understand which platforms are built for property-specific needs.
| Preparation step | Why it matters |
|---|---|
| Shoot in RAW or high-res JPEG | Gives AI more data for accurate edits |
| Sort images by room type | Enables consistent batch processing |
| Back up originals | Protects against irreversible changes |
| Check platform file limits | Avoids upload errors mid-workflow |
Step-by-step workflow: From upload to export
Once your tools and images are ready, you’re primed to start editing efficiently. A repeatable process is what separates professionals who finish 50 photos in an hour from those who are still tweaking the same shot two hours later.
Step 1: Upload your sorted image batch. Most AI platforms accept bulk uploads. Drop your organized folders in and let the platform index them.
Step 2: Apply automated enhancements. Use the platform’s auto-enhance feature first. This typically corrects exposure, white balance, and basic color grading across all images simultaneously.

Step 3: Use natural language or preset prompts. Platforms like VibeMyFlat let you describe what you want in plain English. Type “brighten the room and warm up the lighting” and the AI applies it. This is where the speed advantage really kicks in.
Step 4: Review flagged images. Most platforms will flag photos where the AI was uncertain. These need a manual look before you proceed.
Step 5: Make targeted manual adjustments. For shots with unusual lighting, reflections, or complex staging, step in and fine-tune. Don’t fight the AI on straightforward shots, but trust your eye on the tricky ones.
Step 6: Export in the correct format. Real estate platforms typically require JPEG at 72 to 96 DPI for web listings. Design portfolios may need higher resolution TIFFs.
Hybrid human-AI approaches are recommended by professionals in real estate to balance efficiency and creative control. The efficient AI process works best when you treat AI as a skilled assistant rather than a fully autonomous editor.
Pro Tip: Group all exterior shots together and all kitchen shots together before batch processing. The AI performs more consistently when lighting conditions across a batch are similar.
| Platform | Batch mode | Natural language input | Export options |
|---|---|---|---|
| VibeMyFlat | Yes | Yes | JPEG, PNG |
| Lightroom AI | Yes | Limited | JPEG, TIFF, DNG |
| Luminar Neo | Yes | No | JPEG, TIFF |
For a deeper look at quick AI interior edits, there are step-by-step breakdowns tailored specifically to interior and staging photography.
Checking and correcting: Avoiding common AI pitfalls
With your edits complete, it’s crucial to make sure nothing slipped past the AI and your photos remain trustworthy. AI tools are fast, but they are not infallible. Knowing what to look for saves you from publishing images that embarrass you or mislead buyers.
Common AI editing errors to watch for:
- Reflection artifacts: Mirrors, windows, and glossy surfaces can confuse AI, producing blurry or distorted reflections
- Over-brightening: AI sometimes pushes exposure too far, making rooms look artificially lit and unrealistic
- Color bleeding: Adjacent colors can bleed into each other, especially near furniture edges or trim
- Loss of texture: Walls, fabrics, and wood grain can appear plasticky after aggressive noise reduction
- Geometry distortion: Wide-angle corrections can warp doorframes or countertops if the algorithm miscalculates
Spot-checking doesn’t mean reviewing every pixel. Focus on the corners of each image, reflective surfaces, and any areas with high contrast. Zoom in to 100% on at least three to four shots per batch to catch texture loss or artifacts before export.
Warning: AI can introduce errors like over-processing, altering building facades, and misrepresentation. A Canadian realtor agency publicly apologized in 2026 after an AI tool altered the exterior facade of a listed home, creating a misleading impression for buyers. Human review is not optional.
Ethical compliance is not just about avoiding embarrassment. It protects your professional license, your client relationships, and your credibility. Follow the seamless editing guide for a structured approach to reviewing edits before they go live.
A simple two-pass review system works well. First pass: scan all images at thumbnail size to catch obvious color or exposure problems. Second pass: zoom into flagged images and any shots with reflections or complex geometry. This takes 10 to 15 minutes for a 40-photo batch and catches the vast majority of AI errors.
Final review and delivery: Ensuring quality and impact
After detailed checks, the last step is making sure your images are ready for maximum impact. This is where many people rush, and it shows. A poorly named file or a wrong export setting can undo hours of good work.
Final review and export checklist:
- Confirm all images meet the platform’s resolution and file size requirements
- Rename files with descriptive, consistent names (e.g., “123MainSt_LivingRoom_01.jpg”)
- Double-check that no AI artifacts remain in the final versions
- Verify color accuracy on a second screen or device if possible
- Export to the correct format and compression level for the target platform
- Create a final delivery folder separate from your working files
- Send a low-resolution preview set to clients before delivering full-resolution files
AI-driven editing can reduce turnaround times dramatically for property listings, which directly affects how quickly a property attracts serious buyers. Research consistently shows that listings with high-quality photos sell faster and at higher prices than those with average images.
Statistic callout: Homes with professional-quality listing photos receive significantly more online views and sell faster than comparable properties with lower-quality images. AI editing makes that standard achievable for every listing, not just luxury properties.
Sharing images effectively matters as much as editing them well. Use a cloud sharing link rather than email attachments for large batches. Tools like Google Drive or Dropbox let clients comment directly on images, which speeds up approval cycles. For team workflows, shared folders with clear naming conventions prevent version confusion. Explore staging photo editing strategies to see how edited images directly influence buyer perception and listing speed.
Why striking the human-AI balance is the real secret
It’s tempting to believe that full automation is the goal. Set it, forget it, collect the results. But experienced real estate photographers and designers know that’s not how it plays out in practice. The agents and designers who get the best results treat AI as a highly capable collaborator, not a replacement for their judgment.
AI is genuinely excellent at repetitive, consistent tasks: exposure correction, white balance, batch color grading. It processes 50 images in the time it takes you to adjust one manually. But it has no understanding of what a buyer actually feels when they look at a photo. It can’t tell when a room looks “off” in a way that’s hard to quantify but immediately obvious to a human eye.
Hybrid approaches are the professional recommendation for real estate photo editing, and there’s a good reason for that. The most efficient workflow is one where AI handles the volume and humans handle the nuance. That’s not a limitation of current technology. It’s just smart division of labor.
Understanding the AI photo transformation benefits helps you set realistic expectations and use the tools where they genuinely excel.
Pro Tip: Write a one-page internal guideline for your team or yourself that defines exactly when to override AI edits. For example: always manually review exterior shots, always check mirror reflections, always verify room geometry. Consistency here prevents the errors that damage your reputation.
Ready to transform your photo editing workflow?
If you’re excited to put these tips into practice, here’s how to get started. VibeMyFlat makes the entire process described in this guide accessible to anyone, whether you’re a seasoned agent managing hundreds of listings or a homeowner preparing a single property for sale.

With VibeMyFlat, you describe the changes you want in plain English and the AI delivers professional results in under 30 seconds. No complex software, no steep learning curve. Just fast, accurate edits that make your spaces look their best. You can also explore more AI workflow guides to keep building your editing skills and stay ahead of what’s possible with AI-driven property visualization.
Frequently asked questions
What are the risks of using AI-powered photo editing for real estate?
AI tools can over-process photos or inadvertently alter property details, creating a misleading impression for buyers. A 2026 realtor apology over an altered home facade shows exactly why human review before publishing is non-negotiable.
How much time can AI photo editing save me?
Efficient AI workflows can cut editing time by up to 96% compared to fully manual approaches, making it possible to process an entire property shoot in under an hour.
Should I trust AI tools to do everything automatically?
No. Hybrid human-AI editing is the professional standard because AI handles volume well but lacks the judgment needed for nuanced corrections and ethical compliance.
Are AI photo edits good enough for luxury listings?
AI performs well on standard enhancements, but luxury listings often require nuanced adjustments that exceed current AI capabilities. Human oversight is especially important when the stakes and price points are high.