Apartment Staging Guide for Sellers and Landlords
Apartment Staging Guide for Sellers and Landlords
TL;DR:
- Apartment staging boosts sales and rental speed by making spaces more appealing in photos. Virtual staging offers a cost-effective option for vacant units, while physical staging suits high-value properties. Consistent, well-planned staging helps build trust and prevent delays in real estate transactions.
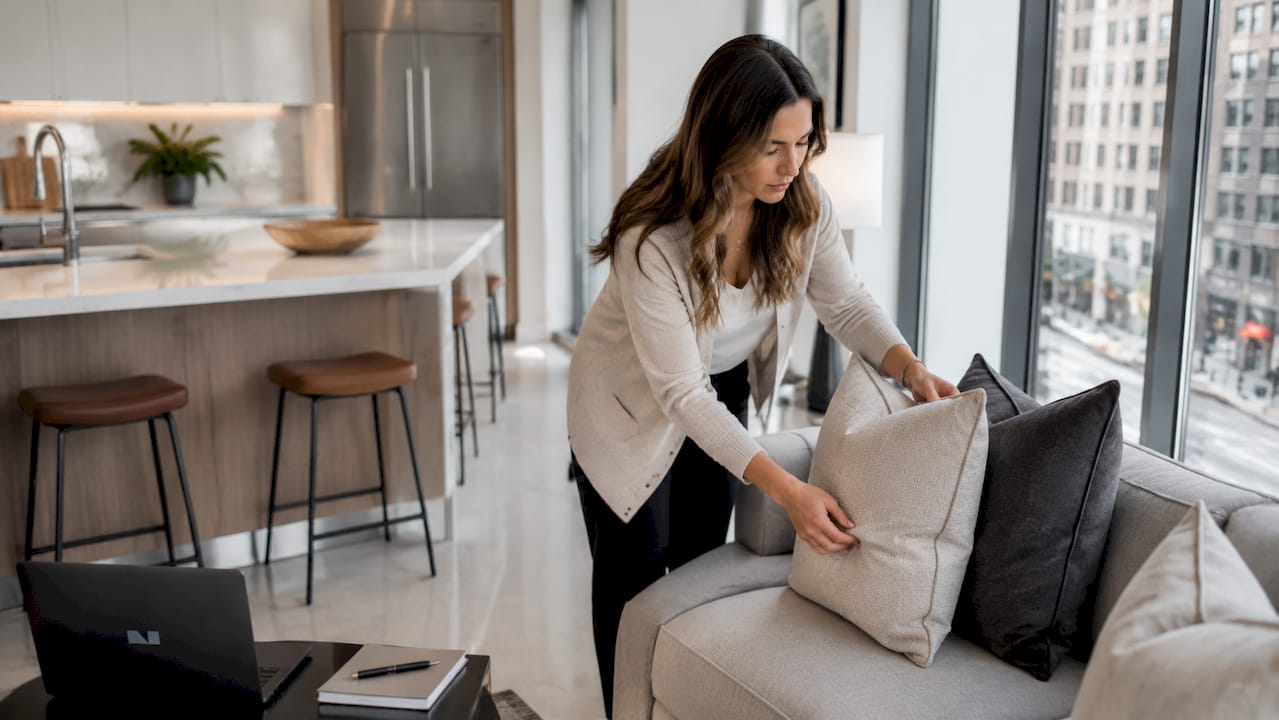
Apartment staging is the practice of preparing a residential unit to maximize its visual appeal for buyers or tenants before listing. Staged apartments sell 73% faster than vacant or owner-occupied listings. A $2,500 staging investment can return $15,000 to $25,000 in additional sale value. That math makes staging one of the highest-return decisions a seller or landlord can make. This guide covers every step, from choosing between virtual and physical staging to a room-by-room checklist built for real results in 2026.
What is apartment staging and why does it matter?
Apartment staging is not decorating. It is a calculated presentation strategy designed to help buyers or tenants picture themselves living in the space. The goal is to remove friction from that mental leap, and the fastest way to do it is through photos.
Buyers form opinions about a property within 8 seconds of seeing the listing photos. That means your staging success is measured in fractions of a minute, not during the walkthrough. Every furniture placement, lighting choice, and color decision must work in a photograph first.
The financial case is straightforward. A well-staged apartment commands attention in a crowded listing feed, generates more showing requests, and closes faster. For landlords, effective staging for rentals does not require luxury. It requires clarity, cleanliness, and good photography. Those three elements alone separate a listing that sits for weeks from one that fills in days.
Pro Tip: Treat staging as a marketing investment, not a decorating expense. Calculate your expected return before setting a budget, and you will always spend in the right places.
Key benefits of staging include:
- Faster time on market, often by weeks rather than days
- Higher offers from buyers who perceive the space as move-in ready
- Stronger rental applications from tenants who trust what they see
- Better listing photos that perform across Zillow, StreetEasy, and Apartments.com
- Reduced negotiation pressure because the unit looks well-maintained
Virtual vs. physical staging: which should you choose?
The two main staging methods serve different budgets, timelines, and unit conditions. Understanding the difference saves you money and prevents costly mistakes.
Physical staging involves renting or placing real furniture and decor in the unit. It works best for occupied units or high-value properties where buyers expect to walk through a fully furnished space. The cost runs $1,500 or more per room, and the logistics require coordination with movers, stylists, and photographers.
Virtual staging uses software to digitally add furniture and decor to photos of an empty room. Virtual staging costs $50 to $200 per room, making it the practical choice for vacant units, budget-conscious landlords, and properties with building restrictions on furniture delivery. As of 2026, AI-generated staging requires disclosure in listing materials per industry standards. Skipping that disclosure damages buyer trust and can create legal exposure.
| Factor | Virtual staging | Physical staging |
|---|---|---|
| Cost per room | $50–$200 | $1,500+ |
| Best for | Vacant units, budget listings | High-value sales, walkthroughs |
| Turnaround time | 24–48 hours | Several days to weeks |
| Disclosure required | Yes (2026 standards) | No |
| Buyer walkthrough match | Requires careful coordination | Consistent with photos |
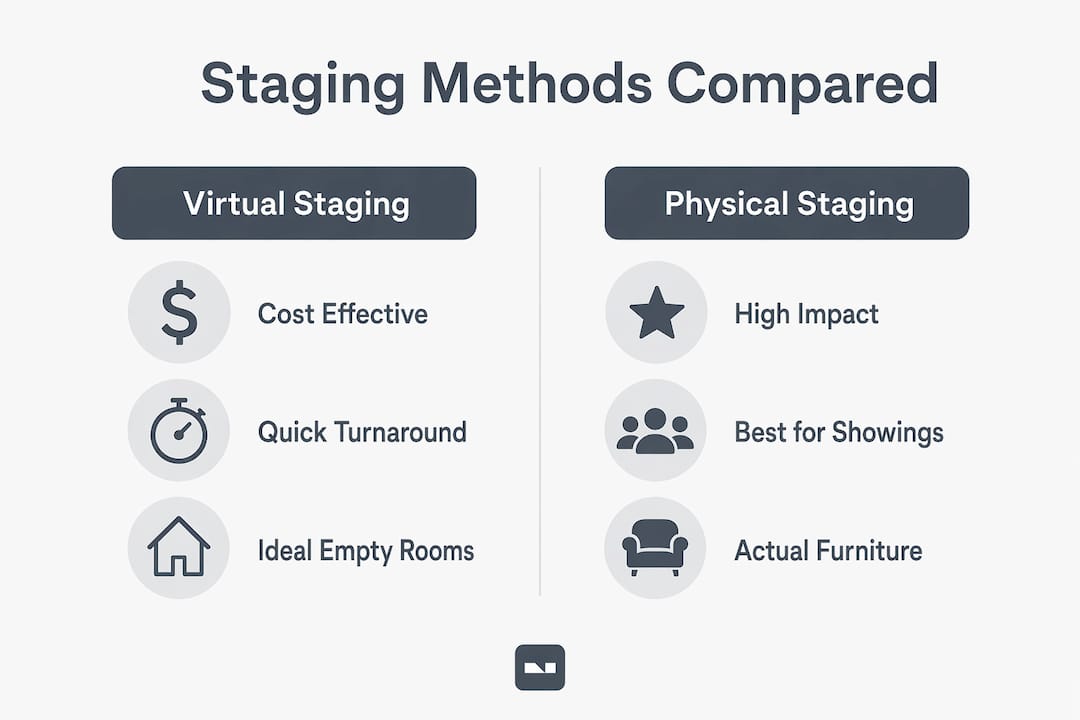
A hybrid approach works well for mid-range listings. Stage the living room and primary bedroom physically for walkthroughs, then use virtual staging for secondary rooms that appear only in photos. Vibemyflat supports this workflow by letting you edit and visualize room changes with AI before committing to physical purchases or rentals.
Pro Tip: If you use virtual staging, always note it clearly in the listing description. Buyers who arrive expecting furnished rooms and find empty ones lose trust immediately, and that distrust kills deals.
Room-by-room apartment staging checklist
Focus staging efforts on rooms that appear in primary listing photos for the highest return. The living room, primary bedroom, and kitchen draw the most buyer and tenant attention. Spending on a guest bathroom that never appears in photos is wasted budget.
Living room
The living room sets the tone for the entire listing. Keep furniture scaled to the room. Oversized sofas in a 300-square-foot New York City living room make the space feel cramped in photos. Use a neutral sofa, one accent chair, a simple coffee table, and one piece of wall art. Remove personal items, family photos, and anything that reads as clutter.
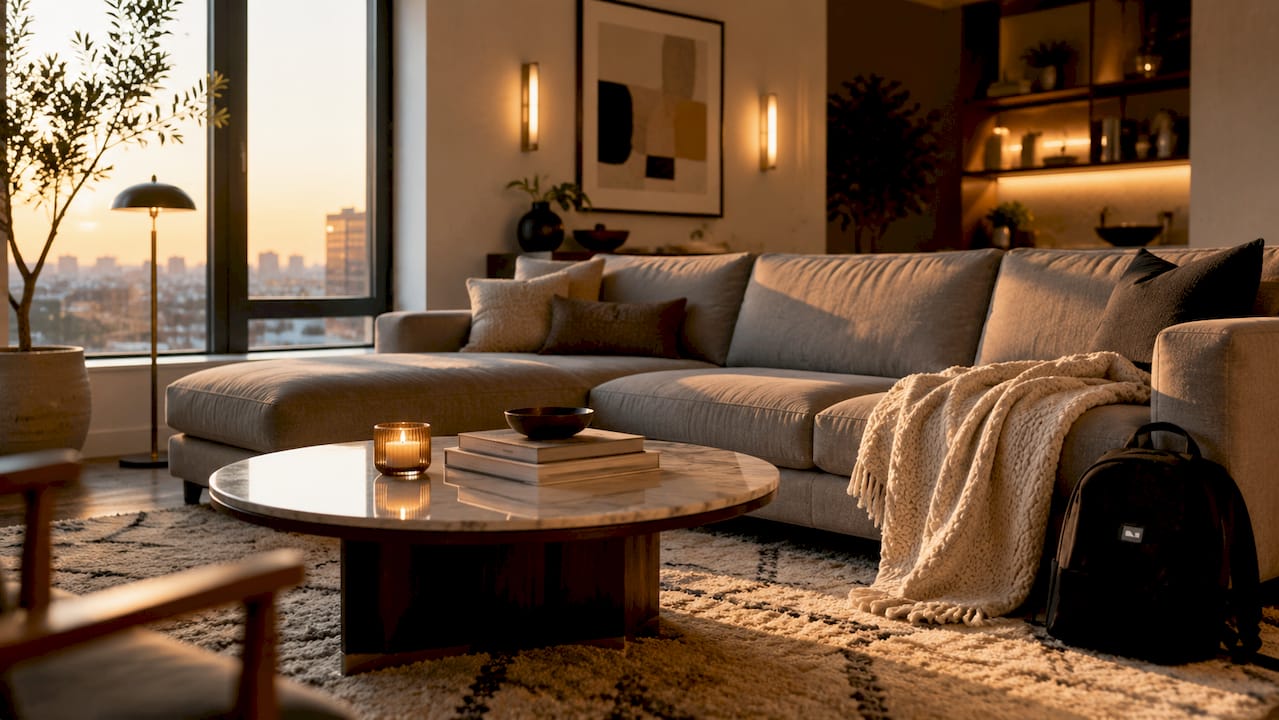
Lighting matters more than most sellers realize. A mix of natural and warm artificial light creates an inviting ambiance without overspending. Open all blinds before the photo shoot. Add a floor lamp or table lamp to eliminate dark corners. Avoid harsh overhead fluorescent lighting, which flattens the space and makes colors look cold.
Primary bedroom
The bed is the anchor. Use a clean, white or neutral duvet with two or four pillows arranged symmetrically. Add two matching nightstands and lamps if space allows. Remove all personal items from dressers and nightstands. A single piece of art above the headboard completes the look without adding visual noise.
Kitchen
Kitchens sell apartments. Clear every countertop except for one or two intentional props: a bowl of fruit, a coffee maker, or a small plant. Clean appliances until they reflect light. If cabinet hardware is dated, replacing it costs under $50 and photographs dramatically better. Grout lines should be clean and white, not gray.
Full apartment staging checklist
- Declutter every room and remove at least 30% of existing furniture
- Depersonalize by removing family photos, personal collections, and religious items
- Deep clean floors, windows, baseboards, and appliances
- Touch up paint in any room that appears in listing photos
- Replace burned-out bulbs with warm white LED bulbs throughout
- Add fresh towels and a simple plant or flowers to bathrooms
- Stage outdoor spaces like balconies with one chair and a small table
- Confirm all staging is in place before the photographer arrives
Low-cost upgrades like paint, lighting, and decluttering yield the best ROI in small apartments. More expensive upgrades, like new appliances or flooring, only make sense when the submarket price ceiling supports the added cost.
How to plan staging efficiently: budget, timing, and photography
Staging without a plan produces inconsistent results. The most common mistake is staging the unit beautifully for photos, then showing it half-dismantled to buyers. Inconsistent staging leads to distrust and delays in sales or rentals. Treat your staged apartment as a brand. Every touchpoint, from the listing photo to the in-person tour, must match.
Budgeting for staging
Align your staging budget with your expected return. For a $500,000 apartment, spending $2,500 on staging is a 0.5% investment with a documented history of strong returns. For a rental at $2,500 per month, spending $300 to $500 on paint, cleaning, and photography is a reasonable cost to cut vacancy time by two or three weeks.
Prioritize rooms that appear in listing photos and skip rooms that do not. A second bedroom used as a storage room does not need staging if it will not be photographed. That discipline keeps costs low without sacrificing impact.
Timing and photography coordination
Schedule your professional photo shoot as the final step after all staging is complete. Do not photograph before the cleaning crew finishes. Do not schedule the shoot on a cloudy day if your unit relies on natural light. The best listing photos for apartments come from morning shoots when light enters from the east, or afternoon shoots for west-facing units.
Coordinate with your photographer in advance. Share a shot list that covers every staged room. Walk through the unit together before shooting to catch any staging gaps. A well-coordinated photo shoot is the difference between a listing that gets 200 views and one that gets 2,000.
Common mistakes to avoid:
- Staging with furniture that is too large for the room
- Using bold or polarizing paint colors that narrow your buyer pool
- Leaving personal items in staged photos
- Failing to disclose virtual staging in 2026 listings
- Photographing before cleaning is complete
- Mismatching the staged photos with the actual tour condition
Pro Tip: Use Vibemyflat to test paint colors, furniture layouts, and lighting changes on your actual apartment photos before spending a dollar on physical changes. You will make better decisions faster.
Key takeaways
Staged apartments sell and rent faster because they reduce the mental effort buyers and tenants need to picture themselves in the space.
| Point | Details |
|---|---|
| Staging drives faster sales | Staged apartments sell 73% faster than vacant or owner-occupied listings. |
| Focus on photo rooms only | Stage the living room, primary bedroom, and kitchen for maximum cost efficiency. |
| Virtual staging saves money | At $50–$200 per room, virtual staging is the practical choice for vacant units. |
| Disclose AI staging in 2026 | Industry standards require disclosure of AI-generated staging in all listing materials. |
| Consistency builds trust | Matching your staged photos to the in-person tour prevents distrust and deal delays. |
What I have learned staging apartments in competitive markets
The conventional wisdom says staging is about making a space look beautiful. That is only half right. The real job of staging is to remove doubt. Buyers and tenants scroll through dozens of listings. They are not looking for perfection. They are looking for a reason to stop scrolling and book a showing.
The 8-second rule is real. I have watched listings with identical floor plans and price points perform completely differently based on one variable: the quality of the first photo. The unit with a bright, clean, well-proportioned living room photo gets the clicks. The one with a dark corner and a cluttered bookshelf does not.
The shift toward virtual staging in 2026 has created a new problem. Buyers now arrive at showings expecting the furnished room they saw online, only to find an empty box. That gap destroys trust faster than a bad photo ever could. The disclosure requirement exists for good reason. Use it, and then make sure your physical presentation is strong enough to stand on its own.
The landlords and sellers who get the best results treat staging as a system, not a one-time task. They have a checklist, a photographer they trust, and a consistent visual standard across every listing. That consistency is what builds a reputation in a market. Buyers and tenants remember the agent or landlord whose listings always look sharp. That memory turns into referrals.
— Hello
How Vibemyflat helps you stage smarter
Staging decisions get expensive when you guess wrong. Vibemyflat removes the guesswork by letting you edit your actual apartment photos with AI before committing to paint colors, furniture, or lighting changes.

Describe the change you want in plain language, and Vibemyflat delivers a professional-quality result in under 30 seconds. Test a lighter wall color, swap out furniture, or brighten a dark kitchen before spending a dollar on physical changes. For property managers handling multiple units, the platform cuts the time between vacant unit and polished listing dramatically. Real estate agents use it to visualize staging ideas and present options to sellers before the staging crew arrives. Start your first edit at Vibemyflat and see the difference a well-staged photo makes.
FAQ
How much does apartment staging cost?
Physical staging runs $1,500 or more per room, while virtual staging costs $50 to $200 per room. Most sellers focus their budget on the living room, primary bedroom, and kitchen for the best return.
Does staging really help sell an apartment faster?
Staged apartments sell 73% faster than vacant or owner-occupied listings. A $2,500 staging investment has been shown to generate $15,000 to $25,000 in additional sale value.
Do I need to disclose virtual staging in my listing?
Yes. As of 2026, industry standards require that listings using AI-generated or digitally staged photos disclose this clearly in the listing materials.
What rooms should I prioritize in my apartment staging checklist?
Focus on the living room, primary bedroom, and kitchen. These are the rooms that appear most in listing photos and attract the most attention from buyers and tenants.
Can I stage a rental apartment on a tight budget?
Effective rental staging does not require expensive furniture or renovations. Paint, lighting, decluttering, and professional photography deliver the strongest results for the lowest cost.